

Legend Of Kyrandia: Book 2 – The Hand of Fate | Part 2/2
LEGEND OF KYRANDIA: BOOK 2
HAND OF FATE
WALKTHROUGH – PART 2
*******************************************
~~~~~~~~~~~~~~~~~~~~~~~~~~~~~~~~~~~~~~
JOURNEY TO VOLCANIA
~~~~~~~~~~~~~~~~~~~~~~~~~~~~~~~~~~~~~~
SHIP
SAVE YOUR GAME HERE. The ship is headed for Mustard Island. Hide your MAGNET in the coil of rope. This will throw off the autopilot steering system, and make the ship change course to Volcania. When the Captain realises what’s going on, he throws you overboard. You swim to Volcania.
~~~~~~~~~~~~~~~~~~~~~~~~~~~~~~~~~~~~~~
VOLCANIA
~~~~~~~~~~~~~~~~~~~~~~~~~~~~~~~~~~~~~~
BEACH
Now you’ll have to take several trips around the island. Find and collect the following items.
– STARFISHES
– SEASHELLS
– SAND DOLLARS
– 2 HEAVY ROCKS
– STICK
– EMPTY FLASK
You don’t have enough space for everything at once – hence needing several trips round the island.
Talk to the man on the red settee and give him 2 STARFISH. He’ll give you a LEATHER FOLIO.
Talk to clerk behind the desk at Department Of Anchor Guidance, and give him 4 SEASHELLS. Try to give 4 SAND DOLLARS to clerk behind the desk, but he’ll insist that registration must be paid for at the yellow line (he’s at the green line). Keep trying to give him SAND DOLLARS, until the registration woman appears. Now give 4 SAND DOLLARS to the female clerk. Now you need to pay 4 STARFISH for insurance. Okay, try to give her STARFISH then. Except… you must pay for it at the green line. And the male clerk has left. Repeatedly try to give her STARFISH, until the male clerk returns, then give him 4 STARFISH. After all the trouble you went to, finding starfish and sand dollars… he tells you just to jump down one of the hot air vents!
Talk to the husband & wife elderly business couple. Pay them 6 SAND DOLLARS. Now for registration, pay them 6 STAR FISH. Pick up EMPTY FLASK.
Talk to Jessica, the apprentice wizard, when you find her. She tells you that you need to do something with vents and rocks, but she’s not sure what.
When you’ve paid the elderly couple everything they asked for, walk right 1 screen from the couple, and jump down the hot air vent.
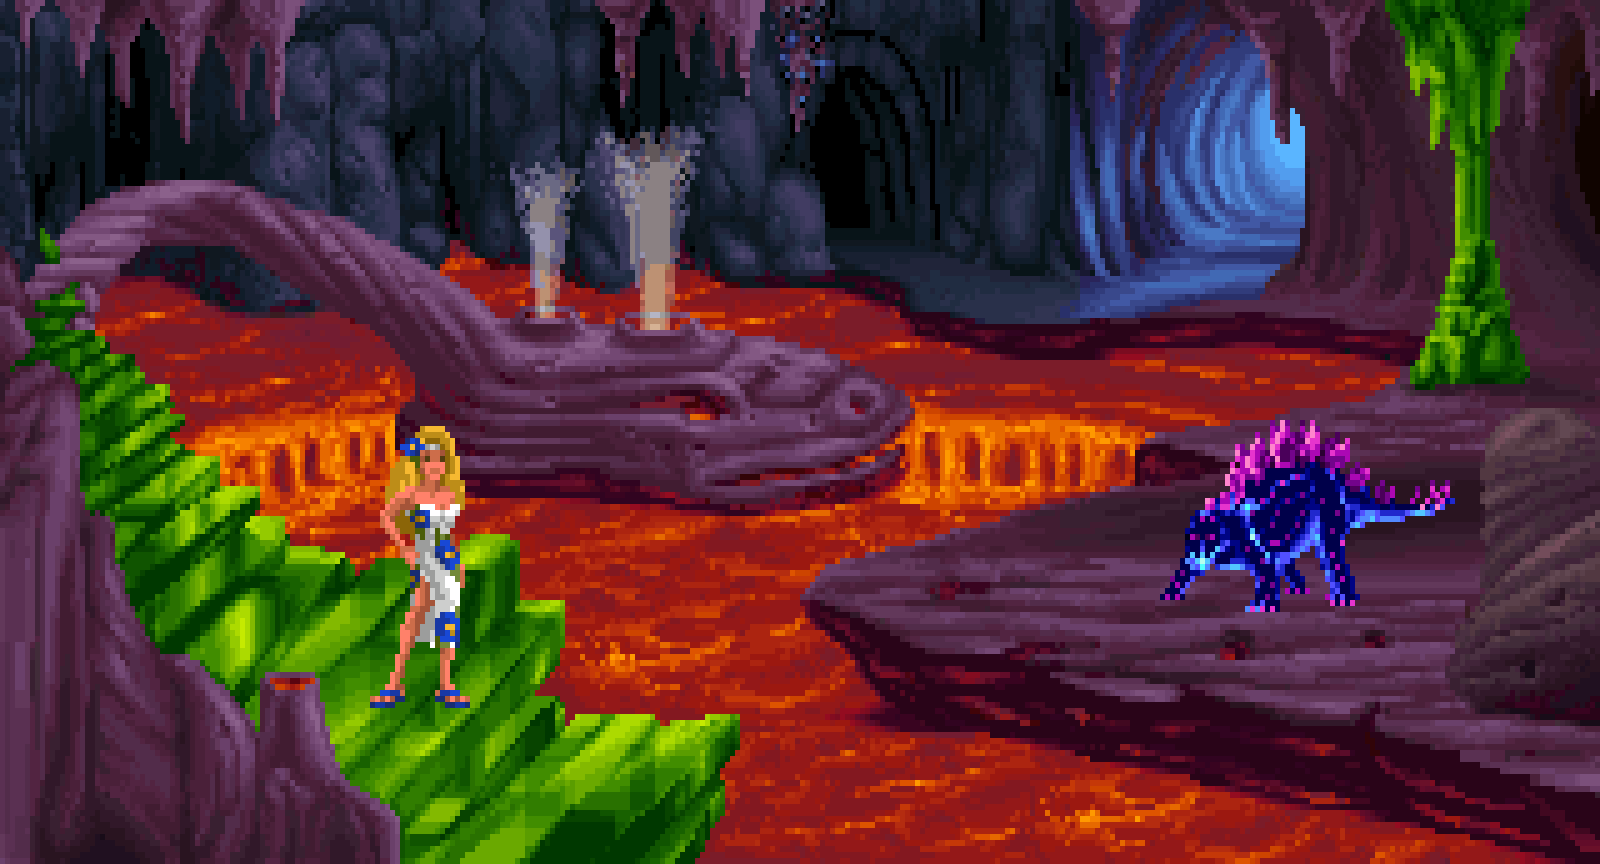
LAVA CAVERN
You’ve lost most of your items again. Pick up HEAVY ROCK, LUMP OF LEAD, and STARFISH. Walk left 1 screen.
Pick up EMPTY FLASK. A huge dinosaur is blocking you from going any further. Head right to the next screen.
Go right over the green bridge.
Look at the huge dinosaur. Pick up STICK, another LUMP OF LEAD, and HEAVY ROCK. Take CRYSTAL FUZZ from the tree. Now go up to the next screen.
There’s another dinosaur here. This one is acting like a dog. Pick up HEART SHAPED LUMP OF LEAD from the green stairs. Use ALCHEMIST’S MAGNET with the HEART SHAPED LUMP OF LEAD, to change it into HEART SHAPED LUMP OF GOLD. Look at black pebbles on the ceiling. Throw STICK for the dinosaur – he’ll ‘fetch’ it, and throw it back to you. Again, throw STICK for the dinosaur – he’ll ‘fetch’ it, and throw it back to you. But this time, a rock falls from the ceiling, and blocks one of the vents in the snake’s head. Step onto the vent that’s still open. The jet of air will lift you up, and you automatically take 2 TEDDYBEAR EYES. Pick up LUMP OF LEAD. Open your Spell Book, and read the Teddy Bear Spell. Now place the following items into your cauldron.
– CRYSTAL FUZZ (Fuzz)
– HEART SHAPED LUMP OF GOLD (Heart Of Gold)
– TEDDY BEAR EYES (Two black pebbles)
You’ve created the Teddy Bear Potion. Use EMPTY FLASK with the cauldron to get flask of TEDDY BEAR POTION. Use the TEDDY BEAR POTION on yourself to get a TEDDY BEAR. Pick up the EMPTY FLASK again. Now go down to the next screen.
That huge T-Rex is still. And he still looks as mean as ever! Jump on his back, and he’ll take you for a ride. At the end of the ride, you’ll acquire a red piece of TORN CLOTH from somewhere. Now, you know what they say about the colour red, and bulls. Walk left to the next screen.
SAVE YOUR GAME HERE. That dinosaur looks like it’s just waiting to charge. Now he needs to be facing up towards the door. If he’s not, simply leave the screen, then return. When you’re ready, use red piece of TORN CLOTH on the dinosaur. He’ll charge at you – you step out of the way, and he bangs into the door, forcing it open. You automatically step through the door, into Chamber Of The Anchor.
CHAMBER OF THE ANCHOR
You made it! You reached the Centre Of The World. Jessica, the apprentice wizard you met earlier, pushes you out of the way, grabs an ANCHOR STONE, then teleports home. Just at that moment, Marko appears through a portal (why couldn’t he have done that at the beginning?), and tells you that they don’t need an ANCHOR STONE after all. The REAL problem lies at the Wheels Of Fate. Then he gets pulled back through the portal. *Sigh* I guess there’s nothing else for it then – you need to get up to the Wheels Of Fate. Pick up PARCHMENT and place it in your Spell Book. Take ANCHOR STONE from the pile. Now look at the lava vent in the foreground, and place HEAVY ROCK onto the lava vent. Walk right to the next screen.
LAVA CAVERN
Hmmm, isn’t that lava pool in the middle of the room, moving more violently than before? Blocking the lava vent must have affected it. Pick up HEAVY ROCK from the ground. Place HEAVY ROCK on the small lava vent to block it. Walk right to the next screen.
Place HEAVY ROCK on the small lava vent to block it. Go right over the green bridge.
Walk up 1 screen, to the dinosaur that thinks he‘s a dog.
Place HEAVY ROCK on the small lava vent on the green stairs to block it. Now make your way back to the screen with the large lava pool.
With all the lava vents blocked, the lava pool is bubbling quite ferociously. Step onto the rock in centre of the lava pool. The lava pool explodes, sending you up into the Enchanted Forest.
~~~~~~~~~~~~~~~~~~~~~~~~~~~~~~~~~~~~~~
ENCHANTED FOREST
~~~~~~~~~~~~~~~~~~~~~~~~~~~~~~~~~~~~~~
PETRIFIED FOREST
Talk to the trees, but they’re rather afraid of you. In fact, they’re petrified of you! Pick up the PINECONE that’s on the ground next to the trees. Search the Zanthia-shaped hole in the ground, and find EMPTY FLASK. Walk left to the Bridge.
BRIDGE
Take TWIGS from the ground. Take 2 clumps of MOSS from near the gopher hole on the right. Also take ROLLING STONE from near the gopher hole on the right. Try to cross the bridge, but the knight just drags you back to the start. Take WALNUT from hole on the left side of the bridge. Take SNOWBALL from outer edge of the bridge. Walk right, back to the Petrified Forest.
PETRIFIED FOREST
Look at the black rock on the ground – it’s flint. Place TWIGS down next to the flint, then use ROLLING STONE with the twigs, to burn them. Pick up the resulting CHARCOAL. Now open your Spell Book, and read the Snowman, Regular Spell. Place the following items in your cauldron.
– SNOWBALL (Snow)
– CHARCOAL (Charcoal)
– MOSS (Moss)
You now have the Snowman potion. Use EMPTY FLASK with your cauldron to get flask of SNOWMAN POTION. Now walk left to the Bridge.
BRIDGE
SAVE YOUR GAME HERE. Use SNOWMAN POTION on the knight to get rid of him. Make sure you take the EMPTY FLASK back. Now walk left to Grassy Meadow.
GRASSY MEADOW
Watch the chase scene – they’re just going round in circles! Look at lead statue on the left, and use ALEMIST’S MAGNET on the statue to turn it into gold. Now search box at base of the statue, and take TOY DRUM and JACK from the box. Take ACORN from the tree next to the statue. Now use JACK with the giant foot, to trip him up. His pursuers are finally able to catch him. They tell you about all about the evil Bal-Rom, specifying how evil Bal-Rom’s left hand it. Uh-oh… Isn’t Marko’s assistant a giant left hand? Now go right 2 screens to the Petrified Forest.
PETRIFIED FOREST
Place TOY DRUM down on that tree stump. The music relaxes the trees, and they begin to dance. You automatically sneak right through the trees, to the Tram Station.
TRAM STATION – BOTTOM
Talk to the squirrel in the giant wheel. He decides it’s time for his break, and refuses to operate the wheel any more. And since he won’t operate the wheel, that means that he won’t operate the tram. But you HAVE to get up to the mountains! Give PINECONE, ACORN, and WALNUT to the squirrel. He accepts this as a bribe, and leaves. But who’s going to operate the tram? No problem, just place the ROLLING STONE into the giant wheel, and the gram will start working again. Now climb into a tram.
TRAM STATION – TOP
After a worrying scene involving Marko and Mr Hand, you finally reach the top of the Tram Station. Take FEATHER DUSTER and BROOM from hut on the left. Try to take LOLLIPOP from the baby, but his mum stops you. Take SNOWBALL from snow in the right. Enter lodge on the right.
HUNTER’S LODGE
Talk to both hunters – they refuse to help you. Take EMPTY FLASK from shelf under the window. Take MUSK from the mounted bull head on the wall. Take 3 CANNONBALLS from the floor, and use ALCHEMIST‘S MAGNET on them to turn them into GOLD CANNONBALLS. Now leave the lodge.
TRAM STATION – TOP
Give a GOLD CANNONBALL to the baby’s mum, and while her back is turned, take LOLLIPOP from the baby. Open your Spell Book and read spell for the Snowman, Abominable Potion. Place the following items into your cauldron.
– SNOWBALL (Snow)
– MUSK (Musk)
– FEATHER DUSTER (Feathers)
– LOLLIPOP (Sugar)
Now use EMPTY FLASK on the cauldron to get flask of ABOMINABLE SNOWMAN POTION. Drink the ABOMINABLE SNOWMAN POTION, and you turn into the Abominable Snowman. Now enter the lodge again.
HUNTER’S LODGE
Your attempts to scare the hunters fail miserably. But you manage to attract the attention of another Abominable Snowman, and he whisks you away to his lair.
YETI’S PAD
Pick up COLOGNE from the bar, EMPTY FLASK from the wine shelf behind Yeti, box of CANDY from table in the foreground, and FEATHERS from pillow in the bottom right corner. Now walk left out of the bar.
ICE CAVERN
Take 3 ICICLES from the ground. Now you want to escape from the Yeti, so let’s make another Abominable Snowman potion. Put the following ingredients into your cauldron.
– ICICLE (Snow)
– Bottle of COLOGNE (Musk)
– FEATHERS (Feathers)
– Box CANDY (Sugar)
Now use your EMTPY FLASK with the cauldron, to get ABOMINABLE SNOWMAN POTION. Now use your remaining ICICLE on ice wall on the right, to try and escape, but the Yeti catches you, and takes you back inside.
YETI’S PAD
Walk left to leave the hut again.
ICE CAVERN
When the hunters are near, use ABOMINABLE SNOWMAN POTION on them, instead of yourself. They will turn into Abominable Snowmen themselves. Yeti will become obsessed with them, and leave you alone now. Now use ICICLES on the ice wall to climb up it. You made it! Now walk right to Small Cabin.
SMALL CABIN
Enter the cabin.
MYSTIC’S CABIN
SAVE YOUR GAME HERE. Look at the Rainbow Machine tree. All the flasks are empty – it’s your job to fill it up again, using the correct colour and the correct order. In order to do that, you need to make potions representing each colour of the rainbow. The colours have to be placed in the Rainbow Machine in the correct order, from left to right, as shown below. If you need an extra flask, simply drink a flask of hot water. Remember to flush your cauldron after each potion. The colours you need, are as follows.
1. Red Potion (Flying Shoes Spell)
HOT AIR (hot air)
QUILL (feather of snipe)
LEATHER FOLIO BOOK (red leather)
2. Orange Potion (Sandwich Spell)
VINEGAR, GROUND RADISH (mix in bowl) (mustard)
GROUND GRAIN (ground wheat)
LETTUCE (lettuce)
CHEESE (cheese)
3. Yellow Potion (Abominable Snowman Spell)
SNOWBALL (snow)
MUSK (musk)
FEATHERS (feathers)
LOLLIPOP (sugar)
4. Green Potion (Swampsnake Spell)
GNARLYBARK (windy woof)
SULPHUR (smell of eggs)
ONION (onion)
REPTILE TEARS (lizard tears)
FURNITURE STOOL (toadstool)
HOT WATER (hot water)
5. Blue Potion (Teddybear Spell)
CRYSTAL FUZZ (fuzz)
LEAD HEART (use Alchemist’s Magnet) (heart of gold)
TEDDY BEAR EYES (black pebbles)
6. Indigo Potion (There is no current spell for this)
AMETHYST
BLUEBERRY
7. Violet Potion (Skeptic Spell)
UPTURNED HORSESHOE (lucky horseshoe)
TAFFY FOOTPRINT (rabbit footprint)
SWEET & SOUR SAUCE (sweet & sour sauce)
REPTILE TEARS (lizard tears)
When you have each colour potion, place it into the Rainbow Machine. When all 7 potions are placed correctly, the Rainbow Machine will be fixed. Leave the cabin.
SMALL CABIN
What a pretty rainbow! Take an ICICLE from the roof of the cabin, then use ICICLE to climb up the roof.
RAINBOW BRIDGE
After a dangerous confrontation with Mr Hand, follow the Rainbow Bridge along to The Wheels Of Fate.
THE WHEELS OF FATE
Try to enter through the door, but the hot light beam is preventing you from doing so. If only it wasn’t so reflective! Use ALCHEMIST’S MAGNET on the gold dish on the roof, to change it into lead. Now walk through the door, into the next screen.
Head up through door at the top left.
THE WHEELS OF FATE – GEAR ROOM
The Kyrandian Wheels have to be in this room. Click on the red & blue console – that’s what’s causing all the trouble, there‘s a GEAR missing! Walk down one screen.
THE WHEELS OF FATE
Head up through door at the top right, to the Inverted Towers Of Anoi.
INVERTED TOWERTS OF ANOI
SAVE YOUR GAME HERE. This is a giant Hanoi puzzle, and it’s horrible! You have to move all the disks from the right to the left, and then from the left to the middle. Okay, are you ready? Then here we go.
– Move Disk 3 to Space 1
– Move Disk 3 to Space 2
– Move Disk 1 to Space 2
– Move Disk 3 to Space 1
– Move Disk 2 to Space 3
– Move Disk 2 to Space 1
– Move Disk 3 to Space 1
– Move Disk 3 to Space 2
– Move Disk 1 to Space 2
– Move Disk 1 to Space 3
– Move Disk 2 to Space 3
– Move Disk 1 to Space 2
– Move Disk 3 to Space 1
– Move Disk 3 to Space 2
– Move Disk 1 to Space 2
– Move Disk 3 to Space 1
– Move Disk 2 to Space 3
– Move Disk 2 to Space 1
– Move Disk 3 to Space 1
– Move Disk 2 to Space 3
– Move Disk 1 to Space 2
– Move Disk 1 to Space 3
– Move Disk 2 to Space 3
– Move Disk 2 to Space 1
– Move Disk 3 to Space 1
– Move Disk 3 to Space 2
– Move Disk 1 to Space 2
– Move Disk 3 to Space 1
– Move Disk 2 to Space 3
– Move Disk 2 to Space 1
– Move Disk 3 to Space 1
The mouth of Statue 1 opens. Take the STICK.
– Move Disk 1 to Space 2
– Move Disk 1 to Space 3
– Move Disk 2 to Space 3
– Move Disk 1 to Space 2
– Move Disk 3 to Space 1
– Move Disk 3 to Space 2
– Move Disk 1 to Space 2
– Move Disk 1 to Space 3
– Move Disk 2 to Space 3
– Move Disk 2 to Space 1
– Move Disk 3 to Space 1
– Move Disk 2 to Space 3
– Move Disk 1 to Space 2
– Move Disk 1 to Space 3
– Move Disk 2 to Space 3
– Move Disk 1 to Space 2
– Move Disk 3 to Space 1
– Move Disk 3 to Space 2
– Move Disk 1 to Space 2
– Move Disk 3 to Space 1
– Move Disk 2 to Space 3
– Move Disk 2 to Space 1
– Move Disk 3 to Space 1
– Move Disk 3 to Space 2
– Move Disk 1 to Space 2
– Move Disk 1 to Space 3
– Move Disk 2 to Space 3
– Move Disk 1 to Space 2
– Move Disk 3 to Space 1
– Move Disk 3 to Space 2
– Move Disk 1 to Space 2
The mouth of Statue 2 opens. Take the GEAR. Walk down to The Wheels Of Fate.
WHEELS OF FATE
Head up through door at the top left.
THE WHEELS OF FATE – GEAR ROOM
SAVE YOUR GAME HERE. Insert GEAR on the spindle in the red & blue console. Use STICK to wedge the GEAR in place. Well, you managed to get the GEAR in place, but Mr Hand isn’t happy about that. He’s ready to attack! As soon as you can, jump left to avoid his attack. Again, when Mr Hand is ready to attack, click on the left side of the screen. For the final attack, click on Mr Hand, and you & Marko will team up to deal with Mr Hand, once and for all.
Congratulations Zanthia, you have saved Kyrandia!
The End.
Credit
This Walkthrough was written by Freaky Hobbit.
A game of very high quality. Although some aspects might have been executed better, we would recommend this game without hesitation.
A game worthy of any adventure gamer’s attention, even
those uninitiated in Kyrandian lore.


Top Adventure Games
More