


Lempo
LEMPO WALKTHROUGH
This walkthrough is for the main path and will take you from the start to the end. Some optional content and secrets will be left for you to discover 🙂
THE OFFICE.
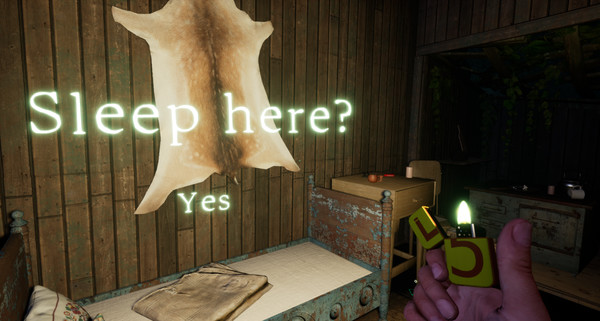
The game starts from the office. Walk to the vending machine and use the door next to it to enter the room with the sofa. You should hear an ominous sound. This means that the back door is now open. Leave the office.
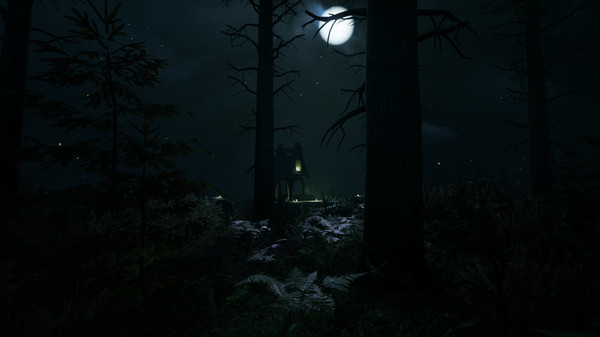
You should see a floating ball of light outside. Approach it. It will move. Approach it again, and you should get lost. You need to look in the direction of the light for this to trigger.
Follow the light! If you see any white glowing things on the ground pick them up, they are soul residue. You can also pick up all the glowing mushrooms, they can heal you. After a couple of stops the floating light should lead you to a cabin high on a ledge. You’ll find stairs up on the left side.
Talk to the light and let it continue onward. Let’s check the cabin at this point! There is a note on the wall next to a lock box. The note is a hint, and the answer is 152. Get the key and let’s get in!
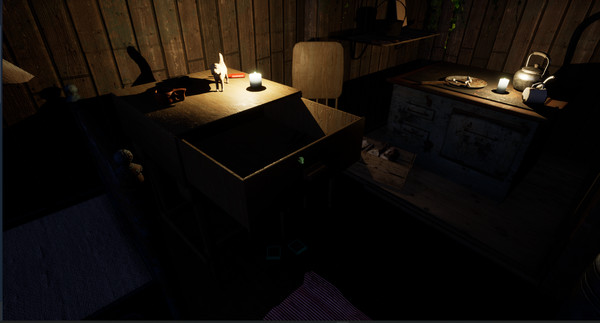
THE CABIN
There are some papers around the cabin. Near the door, on the table and on the chair. Read them. On one of them is a code, 4499, you’ll need that later. In the drawer is a map, also useful. You can also pick up the battery on the shelf near the window.
Let’s continue following the light.
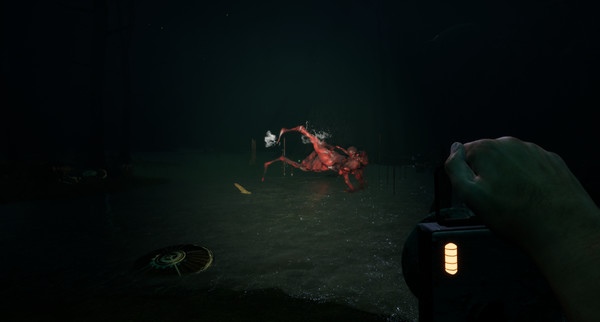
After the creature explodes in a flash of light, go where it was and pick up a flashlight. Handy! Continue along forward along the river, onward from the cabin, until you see a big glass door on the ground and behind it Elisabeth (the ball of light) again. Approach.
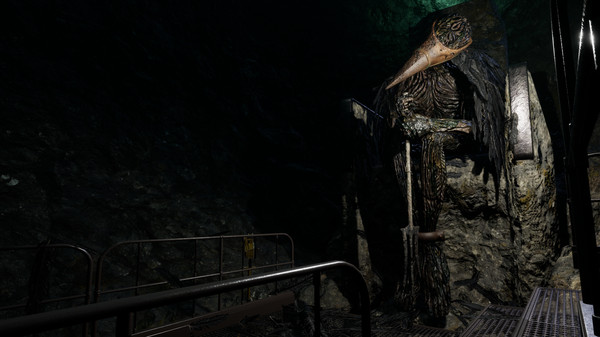
Continue following Elisabeth. Pick up the Serpent’s trial stone from the left side of the path near the big root figure. Click the blood bowl to fill up the stone. You can heal yourself with it.
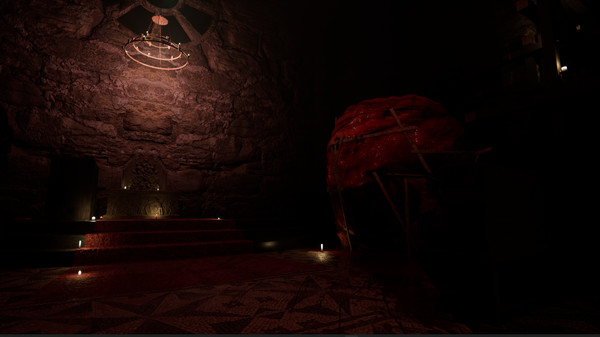
THE SHELL
Continue onward. You’ll soon see a big stone egg. On its right is a lever. After you pull it, you can get to the first platform. There you’ll find 4 more levers. Pull down 2, 3 and 4. Small platforms rise on your right and allow you to jump to the side of the shell. Pull a lever there and the top platforms open. Return to the first small platforms that got you off the ground. Last of them has a lever. Stand on the platform and pull it. It rises up. After a few platforms, there’s a broken one. You just need to jump behind it. Continue.
You’ll find Elisabeth on top of the Shell. After she speaks to you, get on the very top, save the game by touching the lantern and then climb down the ladder into the shell. Get down a couple of stairs and you’ll find an elevator and a lever. Stand on the elevator and pull the lever to get down.
On the bottom of the shell there is a locked door. You’ll need the code from the cabin, 4499, to open it.
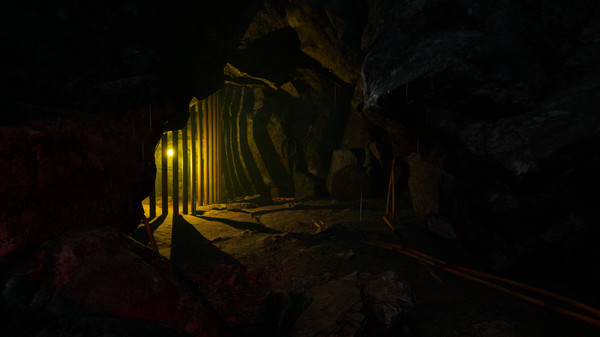
Go to the room on the left with another automatic door. Take the first stairs on the right to find the glowing crystal. Take it and go back. Go to the pulsating electric thing in the middle of the larger part of the cave, but stay behind the glowy glass panels. Go left first and up the stairs to get the green keycard. Then return to the beginning of the shell and go to the small office. Use the keycard to the door on the left and find a peculiar key on the bench. With that key, head back to the pulsating thing and go right this time.
You’ll see the statue of Lempo. Nearby is a glass cabinet, and next to it is a small pedestal. Use it, and with your latest key the cabinet opens. Take the trident and give it to Lempo. It will stop the pulse.
Go to the middle of the cave. There is a big cube. On one side of it there is a big round wheel. Activate your crystal by pressing 2 on your keyboard. It will reveal a pattern. Click the middle wheel twice and the outer ring 7 times. A small compartment on the opposite side of the cube opens. Take the handle and go to the side on your right. Attach handle and pull. Go to the opposite side. There is secret drawer in the square hole. Click to open, and pick up your first metal ear!
Go deeper into the cave, on the right of the Lempo chamber. Elisabeth is waiting there. You can pick her up after talking to her. There is a save lantern on the right before the exit. Use snake stone to heal if needed and click the blood bowl in the save lantern room to fill it up. Pull the lever near the end of the cave to open the ladders.
A monster comes after you. Run forward and a little bit to the left from the ladders to get BACK TO THE CABIN. Watch out for rising trees! You can tap R while holding shift to run faster if your vitality is over 50. The monster disappears when you enter the cabin. If you die, you will wake up in a white room. Just walk forward and click the toy bear to spawn back near the last lantern you saved on. The monster will not hunt you again, you can safely get out of the cave now.
Use the map and make your way towards the anchor on the top. If you ended up in the cabin then cross the river (or go around). If you died and returned to cave, climb up the ladder and head mostly right. You’ll soon find a fence. There are a few holes in it, just follow the fence until you find one and go to the other side and continue towards the anchor.
SAILOR’S LEDGE
There is an orange ball of light in the direction you should be heading. Talk to it and follow it. If you find the edge of the level first, just follow it along until you find the Sailor’s Ledge. It is easily recognized by its purple hue.
Go to the very edge of the purple ledge. There is a boat and a bottle on it. Take the bottle and the note inside it. After reading the note, a text should appear in the air. Choose yes, and a bird flies by you and drops a compass on the ground. Pick it up.
There is a table near the boat. On it is a paper describing a mysterious stone. In the table drawer is a music box. On the bottom of the box is some writing.
Go back straight towards the forest. On the edge of it you should see a lantern save point. Next to it is the mysterious stone mentioned in the paper. Using the info on the bottom of the music box, you can decipher the symbols on the rock. (The symbols on the front are a combination of one symbol of the horizontal row and one on the vertical column on the sides of the rock. Use the location of these two to find the correct letter from the grid on the music box.) The correct letters are S, U, M, U. (Fact of the day: sumu = fog in Finnish.) A sound tells you that something opens. Go around the rock and pick up the second metal ear!
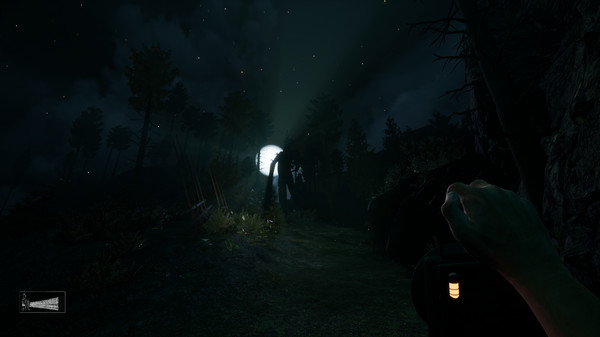
Now get back to the cabin. You can use the compass and the map to figure out a right direction. But watch out! A monster has spawned in the forest. It damages you if you get too close, but it’s fairly easy to avoid after you know that it only moves when you are not looking at it! The monster does not go beyond the fence, so after that you are safe again.
Put the two ears into the stone door below the cabin, and move to the next level.
SECOND LEVEL
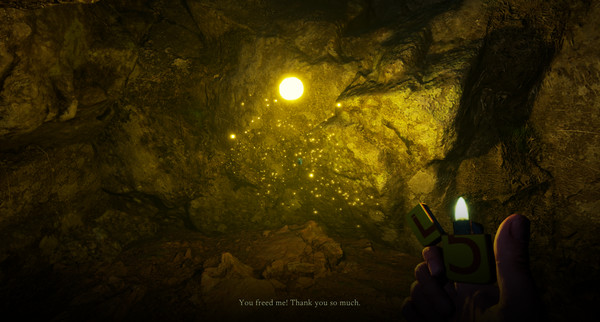
Climb up from the grave and save at the lantern if you’d like. Then go a bit left from the lantern. There are round rocks on the ground that look like eyes. Among the eye statues is a golden thing you can carry. Take it with you and head through the narrow path between all the eyes to find a couple of eyes that are active. Put the golden thing on the one closest to the cave on the left. In the cave is a yellow soul, trapped. And 3 metal wheels. Two of them work. Turn both of them 4 times and the prison opens.
GRAVEYARD OF TREES
Head straight out of the cave and down the stairs. The flames on the swamp are now lit. You need to quickly run from fire to fire to avoid the monster. It can’t come near them. On the opposite side of the swamp, there is a white structure on top. Under it is a flame. Near that is a level you need to pull. You need to be quick, since the lever is not near a flame and the monster can get to it. Wait for the monster to be further away and quickly run and pull the lever and then get back. A ladder rises from the ground. When it’s safe, run to the ladder and climb up.
Right in front of you is a save point, serpent statue and a cave. There’s also a well, but let’s not go there yet. Fill up your serpent stone, save the game and head into the cave.
GRANDFATHER’S CAVE
Read the letter on the first bigger rock. Pick up the soul residue in a chest near the bed, the lever on a stone thing and a map on a metal barrel. Go deeper into the cave and talk to the soul, Elea. She tells you another soul is sick. It’s on your left on a rock. You can heal it if you have at least 5 soul residue. If not, you can come back later, just remember to collect all the residue you see!
Take the paper on the huge dark stone door behind the souls. At the backside are some numbers. You need to count the letters from the front side according to the numbers on the back to reveal a message. The last 5 numbers are a code to the cabinet at the beginning of the cave, 81632. There is one of the golden egg pieces you need.
With the lever, head back out. Now you can use the ladder and descend into the well, it is actually a shortcut to the beginning of the level, and with it you can skip the swamp.
From the beginning, choose the path on the right side of the Greek structure. Follow the right wall until you reach the edge of the level, and the turn left and follow the edge. You should find the Iron Bridge.
IRON BRIDGE
There are stairs on the left side of the bridge. There is a small control booth. Put the lever on its place on the floor and pull it. Turn to the control table. Turn the right most lever, then the two on the left. Wait for the 3 lights to light up, and then turn the right one again. The bridge should lower. If you mess up, the bridge enter an error state. Reset everything and input a code to the numpad near the booth door: 7024. The code only works if the bridge power is turned back off. Then start again.
Before going over the bridge, go back to the forest instead. Check your map. You should see the bridge near the top. Head west and a little bit to the south. In the forest is a bunker. It should be visible from quite far since it’s very well lit.
THE BUNKER
Near the bunker is a door below it. It is locked. Use the crystal to see an arrow on the side of the door structure. Follow it, and you should soon see a rope hanging from the tree. If you look up, you’ll see a treehouse. Pull the rope to access ladders, and get a key from the treehouse. Return to the bunker door and open it.
Go in and find a door with a numpad. The crystal helps you here as well, you’ll see some numbers above the keypad. They have a simple rule on every row, and the fourth row would be 9548. The door unlocks. Go up and get the golden egg. The return to the Iron Bridge on go over it.
You are now in a medieval level. Go right and you’ll find a save point. To get to the other side of the big wall, you’ll need to jump on the rocks to the right most corner of the wall. You can click the planks to move them. Most of the planks only have 2 positions. One has 3, put that to the middle position. The last rocks you just have to jump.
On the other side, pull the lever to lower the drawbridge for ease of access later. Then find the door on the smaller stone wall to enter the…
MAZE OF GROWTH
The hint is in the name. You should follow the pictures next to door, that tell a story of growth, from seed to fruit. So water, seed, seedling, tree, fruit.
In the room after the fruit door is a monster that will come after you, but it is slow and easy to avoid. There is also a donut shaped rock in the middle. Go look through it. When you do that, you can see hole in the wall, that cannot be seen otherwise. When you don’t look through the donut, you can no longer see the hole, but you can still go through the wall from that spot.
After the maze go left to the village. There is also a save point and a serpent altar here, feel free to use them. Turn left after the first house and go to a small clearing in the forest. There is a talking mushroom. Talk to it, and choose to harvest it. With the mushroom, return to the end of the maze and now follow the path to the other direction. There is a bridge. A hand monster appears when you try to cross it. Give it the mushroom and it will let you pass.
Climb the church stairs. In the middle a monster appears. After a small scene, continue climbing the stairs as fast as you can and head to the church. The door is pretty much in front of you after the stairs.
THE CHURCH
Head towards the altar and turn left. There is a cabinet with some animal figurines. Around the church are colored pictures on the floor. These colors correspond to the buttons on the cabinet. You’ll have to stand on each colored picture and take note of what is the only metal animal statue you can see from there. Only one can be seen per color. The right animals are:
Red owl Green bird Blue wolf Yellow bear
The cabinet opens. Pick up the golden egg piece and a large key. Head back out.
Turn right from the church door and head to the metal gate. You now have the key for it.
CHALLENGER
You can save here, and then continue forward and climb the hill, until you can hear a telephone. Find it and answer. After a small scene the voice in the telephone repeats the same four digits. 1986. Take a note of that and continue climbing up until you see a space shuttle. The door is locked but luckily you now have the code!
Inside on a shelf there is a key that opens a hatch on the ceiling. But don’t go to the cockpit just yet. On the right is a round black door. Open it and go to the cargo hold. Get to the back of it (don’t worry about the red things) and pull a small lever on the back wall. Now go back, but this time avoid touching the moving red sensors. Open the black round door if it’s closed. If it’s locked, you hit the red sensors by accident and need to go pull the lever again.
In the cockpit on the upper floor, turn on the display and use the three knobs and lever there to control the robot arm in the cargo bay to grab the golden egg piece floating above the spacecraft. You have to extend the arm fully, and the swing it by the piece. Then fold the arm back again. Return to the cargo bay and jump on the boxes to pick up the egg piece.
Go out and head to the direction where the shuttle is pointing at. Go carefully over the spiky pit using the planks there, and go through the glowing door.
TIETÄJÄ’S HUT
Walk forward and talk to the soul. This is a bit longer scene. Collect the soul after that if you want. In the small structure near the soul fire cup there is a puzzle. It is a picture of an old, bearded man with some fishes around his head. Just turn the pieces until the picture makes sense, and a drawer pops open under the puzzle. Take the kantele string and climb on top of the structure. There are ladders on the left side. Put the strings to the kantele and play the song that’s on the paper in front of you. The colors tell which string to pull in which order. After playing the right tune, another glowing door opens.
Climb the ladder and use the door to enter Tietäjä’s study. On your right is some wooden screens. Activate all but the middle from the left, and only the rightmost on the right to solve the puzzle. The go to the small cottage and retrieve the golden egg piece. Then go to the glowing door that just opened. If you end up back to the challenger, just turn back and use the right door.
You are now back in the second level, but on the other side of it. There will be some of the monsters from the first level after you here. Once again, they don’t move if you look at them. Just try to run east and head back to grandfather’s cave. Remember you can use the well shortcut we used earlier, it’s now open from this side too. Help the sick soul in Grandfather’s cave now if you didn’t earlier. The other soul moves to the other side of the cave when you do. Talk to her again and she gives you the last golden egg piece. Insert them to the door and use it.
THE LAKE
Save on the lantern if you’d like. Then head forward and a little to the left, follow the ferry sign. You’ll find a small pier and a tiny ferry. When you first try to activate it with the lever on the ferry itself, a creature appears from above and hands you a light bulb. Take it, and then pull the lever on the ferry to go over the lake. The level is pretty straight forward what comes to navigating, the islands are fairly small, so you shouldn’t have too much trouble finding your way.
On the first island there are some floating shiny rocks that flash blue and red. You can jump on them when they are blue, and they will fall if you land on them when they are red. If you fall, just try again. There is no other way around this. The sequence changes after the first half. The upper stones flash blue either once or twice in a row, and you have to start at the beginning of the two-flash cycle.
After getting up, there is an invisible bridge. You can see it with your crystal. But watch out! There are some planks missing.
After the bridge, it’s pretty straight forward until you find the island with the lighthouse. Go to the small shack and get the metal rod. Then go into the house. There is a key on the table and a paper in another room. Pick those. Note the fuse box and what fuses have blown.
Go to the lighthouse. Use the key to access the lever on ground level and pull it. Climb the ladder, and attach the rod to the yellow loop on the platform. Then return to pull the lever again, and then climb back up again. Now you should be able to reach the ladder. On the next floor, you need to combine the markings on the wall with the markings on the paper you found from the house to get 4 digits, 4206. The flip the switches, they correspond to the fuses in the house. Flip down the middle of the first row, and the first of the second. Wait a bit for the mechanic stairs to come down and then climb up.
Pull the lever under the lighthouse light to open a hatch. Take out the old lamp and insert a new one. Pull the lever again. Then you can go back down. There is a statue left of the house with a metal door. It is now open. Jump down to enter the last level.
END OFFICE
Just go forward until you find the office. Go upstairs and pull the slightly different book in the bookshelf. A secret door opens. Go until you find a room with a photo on a pedestal. Take it and return out. The monster is waiting behind the door, but you have to open it and let it kill you.
In the white room where you go if you die there is now a door. Go through it.
Congratulations, you have beaten Lempo!
.jpg)
Top Adventure Games
More