


Sherlock Holmes: Chapter One (Mycroft cases and Cordona Tales)
Sherlock Holmes: Chapter 1 Walkthrough (Mycroft investigations and Cordona Tales)
Sherlock Holmes Cases list:
“Mother’s love”
- “Ghosts of the Past”
- “Master of Transformation”
- “Police Investigations”
- “Dog fights”;
- “Delezh”;
- “Incident at the cemetery”;
- “Scapegoat”;
- “This is w-w-w for a reason.”
- “Golden Cage”
- “Overseas Muse”
- “Sacrificial Lamb”
Mycroft cases
- “Eel Catching”
- “The Lost Shopkeeper”
- “Love, Death, Cordona”
Cordona Tales
- “Silence is golden”
- “Treasure Island” (stages 1-3)
- “For the birds”
- “The Tale of the Empty House”
- “The Ghost Hunter”
- “The Hand-Me-Down”
- “Flashes of Merriment”
- “Pillar with knives”
- “A Mad Rogue”
Other cases
- “Song of the Siren”
- “Blind Shooting”
- “String theory”
- “Street Tricks”
- “Iron Coffin”
DLC cases
- Sherlock Holmes Chapter One – Saints and Sinners (DLC)
- Sherlock Holmes Chapter One – Victorian Starter Pack (DLC)
- Sherlock Holmes Chapter One – Beyond a Joke (DLC)
- Sherlock Holmes Chapter One – Mycroft’s Pride (DLC)
Cases
Case: “Catching eels”
Note . The case is opened by talking to editor-in-chief Yasemin Sertel at the publishing house of the newspaper “Chronicle” during the investigation of the ” Golden Cage ” case.
Mission from Mycroft
- “Your task is to capture Panzer, the leader of the Eel gang. We’ve been able to find out that he frequents one of his warehouses in Silverton, but we don’t know which one. The matter calls for caution. You can’t go wrong. If you break into the wrong warehouse, he’ll run away.”
Information about “Eels”
- “Eels” – a gang of smugglers that transports goods from Cordona to Italy. The bandits united in an office called the Cordona Fishing Company.
Information about the deputy leader of the “Eels”
- “Jones, one of the assistants to the head of the Eels … is unlikely to speak to an outsider. It can be found north of Finch’s factory in Silverton.”
Disguise guide
- “To infiltrate the ranks of the Eels, you have to pretend to be one of them. It is best to impersonate a certain William Hart, nicknamed Ugly Billy. His obituary can be found among other Silverton news.”
Information about the whistleblower
- “Among the Eels is Mycroft’s informant. The informant can be found at warehouse #3. This is a former military man who lost an eye in battle. The code phrase is “How much is a fish?”.
Editorial “Chronicle”
We head to the archives of the newspaper “Chronicle”.
Disguise guide
Activate the evidence “Guide to disguise”, set the search parameters:
Period – “Recent records”;
Section – “Obituaries”;
Districts – “Silverton”.
We find “Obituary of William Hart”.
Obituary of William Hart
We activate the evidence “Obituary of William Hart”. We leave the editorial building.
We head to one of the clothing merchants.
Note . Trader location hotspots are unlocked as Holmes travels through the streets of the city.
clothing seller
We check the photo in the obituary, we buy:
– street fighter costume;
– Scarface makeup.
Information about the whistleblower
We activate the evidence “Information about the informant.” We leave for the Flinch cannery in Silverton. From it we move to the north, we deviate to the east .
We go to warehouse number 3.
Warehouse №3
In search of an informant (argument with John)
- John reminded them that the informant should be found on the first try.
Use concentration mode to find the man with the glass eye .
With the activated evidence “Information about the informant” we turn to the man.
- “I went to the right person.”
The argument with John is won.
Information about the whistleblower
- “The whistleblower couldn’t tell me where Panzer was now, but he did tell me that the Eels had lowered security at the third warehouse.”
Warehouse №3
We listen to the conversation of two bandits.
Selecting phrases:
– policemen,
– a bribe
– fed.
- “I overheard a conversation between two gangsters from the Eels. They bribed the cops to turn a blind eye to what was going on in the warehouse.”
painted eye
Pay attention to the drawing on the wall of the warehouse.
- “There’s a sign in the form of an eye painted on the wall of the warehouse.”
Activate the “Painted Eye” evidence. We address with a question to any of the bandits.
- “This eye reminds the bribed policemen that they need to turn a blind eye to what is happening here.”
tan road
Information about the deputy leader of the “Eels”
We activate the evidence “Information about the deputy leader of the Eels”. We turn with a question to one of the bandits.
- “The cannery is located on Tend Road in Silverton.”
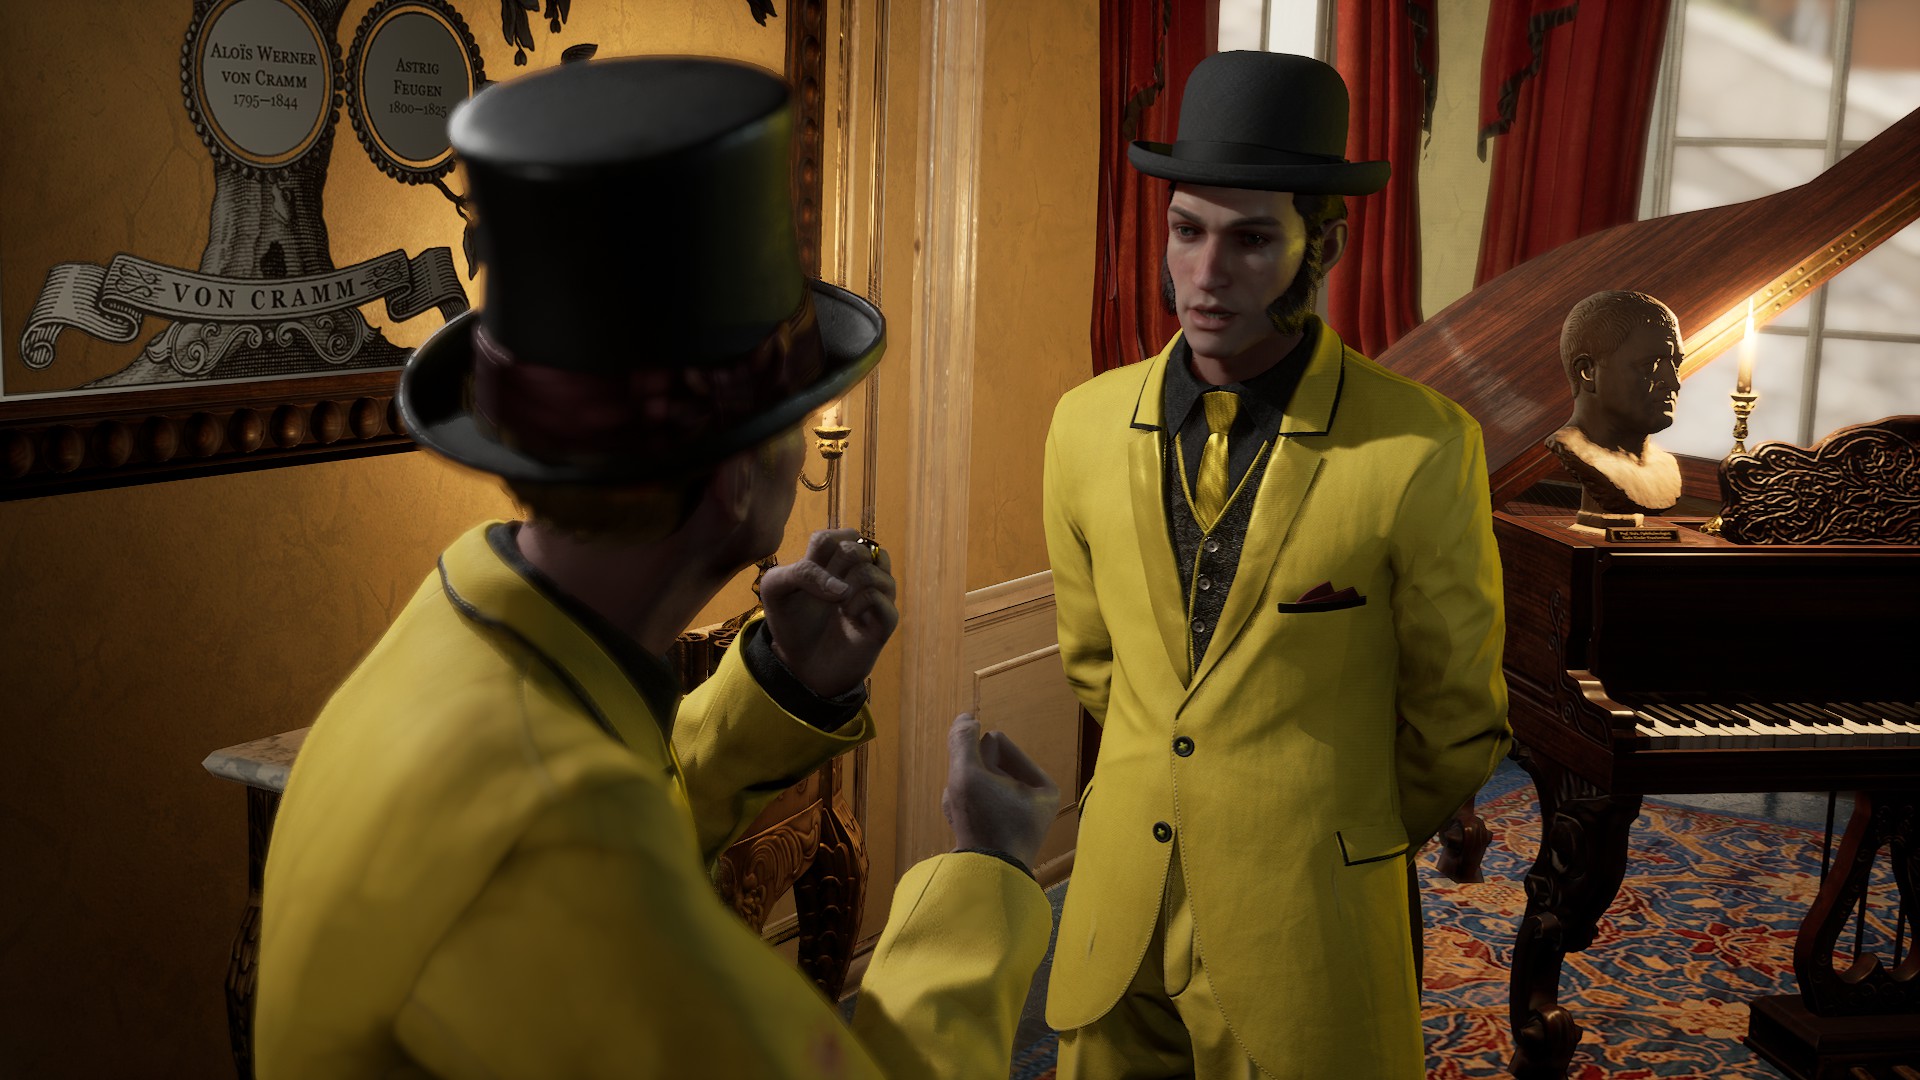
I’m going to Tend Road. We speak with an Irishman in a top hat .
Warehouse №2
- “Cylinder Jones said he ‘should get the guys to the second warehouse’
We go to the second warehouse .
We listen to what the workers say.
- “The workers are complaining that the boxes are heavy today.”
We decide to pay a visit to the warehouse number 1 .
Warehouse №1
We go to the warehouse. In concentration mode, look at the boxes .
- “Crates of fish will go to Italy.”
Listen to what the workers have to say:
– “Simple work”;
– “Suspiciously light”;
– “Boxes with fish.”
- “The workers say that today the boxes are lighter than usual.”
We analyze the collected information:
Warehouse No. 1 – the cargo today is lighter than usual.
Warehouse No. 2 – the load is very heavy today and the deputy leader Jones Cylinder drives people to the second warehouse.
Warehouse #3 – An informant reported that the security of the warehouse was weakened.
We come to the conclusion that the leader is in warehouse number 2.
Warehouse №2
We go to warehouse number 2. We enter into a fight with the bandits, deal with them.
We fight with the leader. We knock down armor from him and arrest him.
Mission from Mycroft
- “I grabbed Panzer. It is necessary to report this to Yasemin in the editorial office of the newspaper.
We go to the editorial office of the newspaper.
Editorial “Chronicle”
We speak with the editor Yasemin, we report on the completion of the task.
We agree to take on a new task.
Case: “The Lost Shopkeeper”
Valuable item (argument with John)
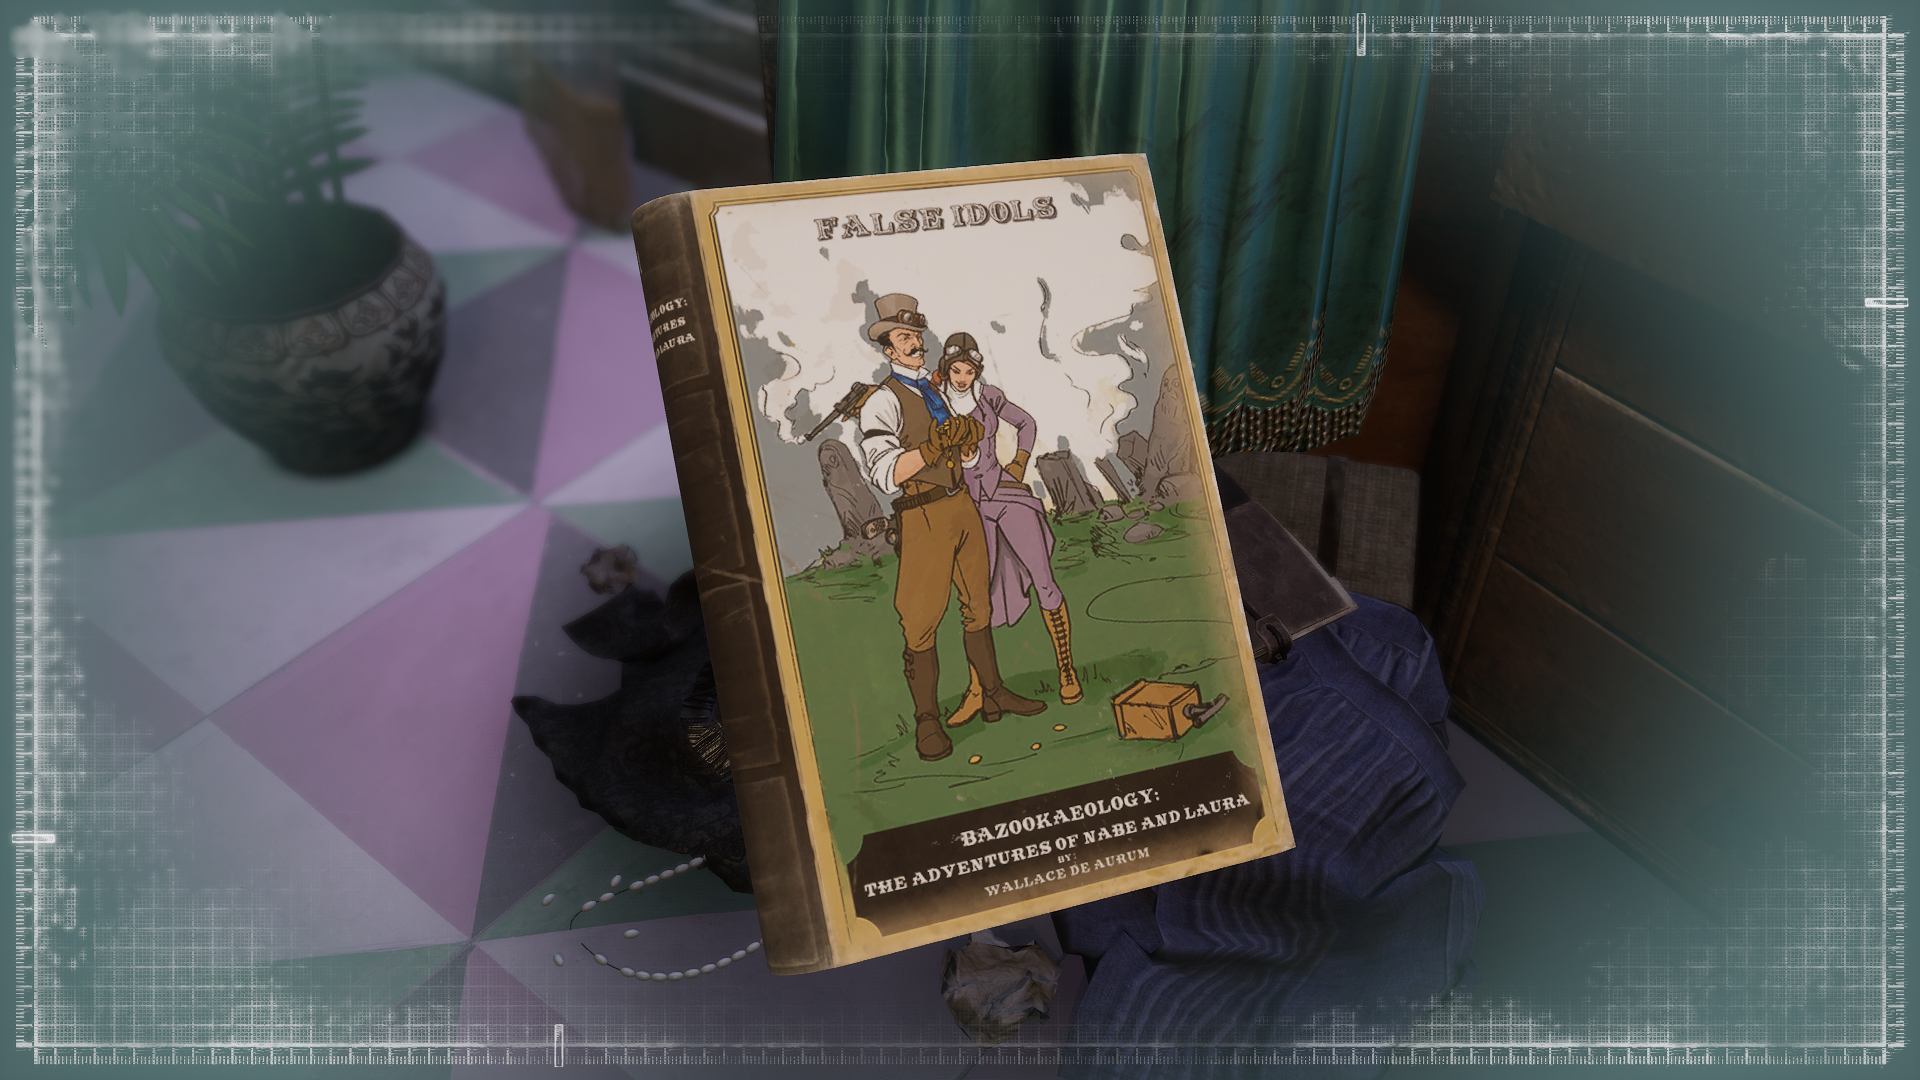
- “Mycroft asks to find a book by F.D.
Missing Angelo Dondolo
- Mission: One of our agents went missing a couple of days ago. Details: The missing agent was last seen leaving his bookshop. Address: north of the old city, Seto Street, east end.
We go to the address indicated in the evidence .
Book store
We examine the lock on the door (a little dusty). We read the note lying under the door (“Note from the shoemaker”).
Note from the artist
- “The shoemaker wrote to Angelo that he would mend his favorite shoes.”
Search for Angelo Dondolo
In concentration mode, we follow the trail. The trail ends in the yard.
yard
We look at the area, to the left of the path:
– cigarette butts;
– deep shoe footprint (in concentration mode);
– bookmark in the idea of a piece of fabric;
– club.
- “It looks like a man has been standing in the yard for a long time. When Angelo went out into the yard, the man hit him on the head with a truncheon.”
We try to talk to the locals, but we quickly realize that they do not intend to answer our questions while we are dressed like that.
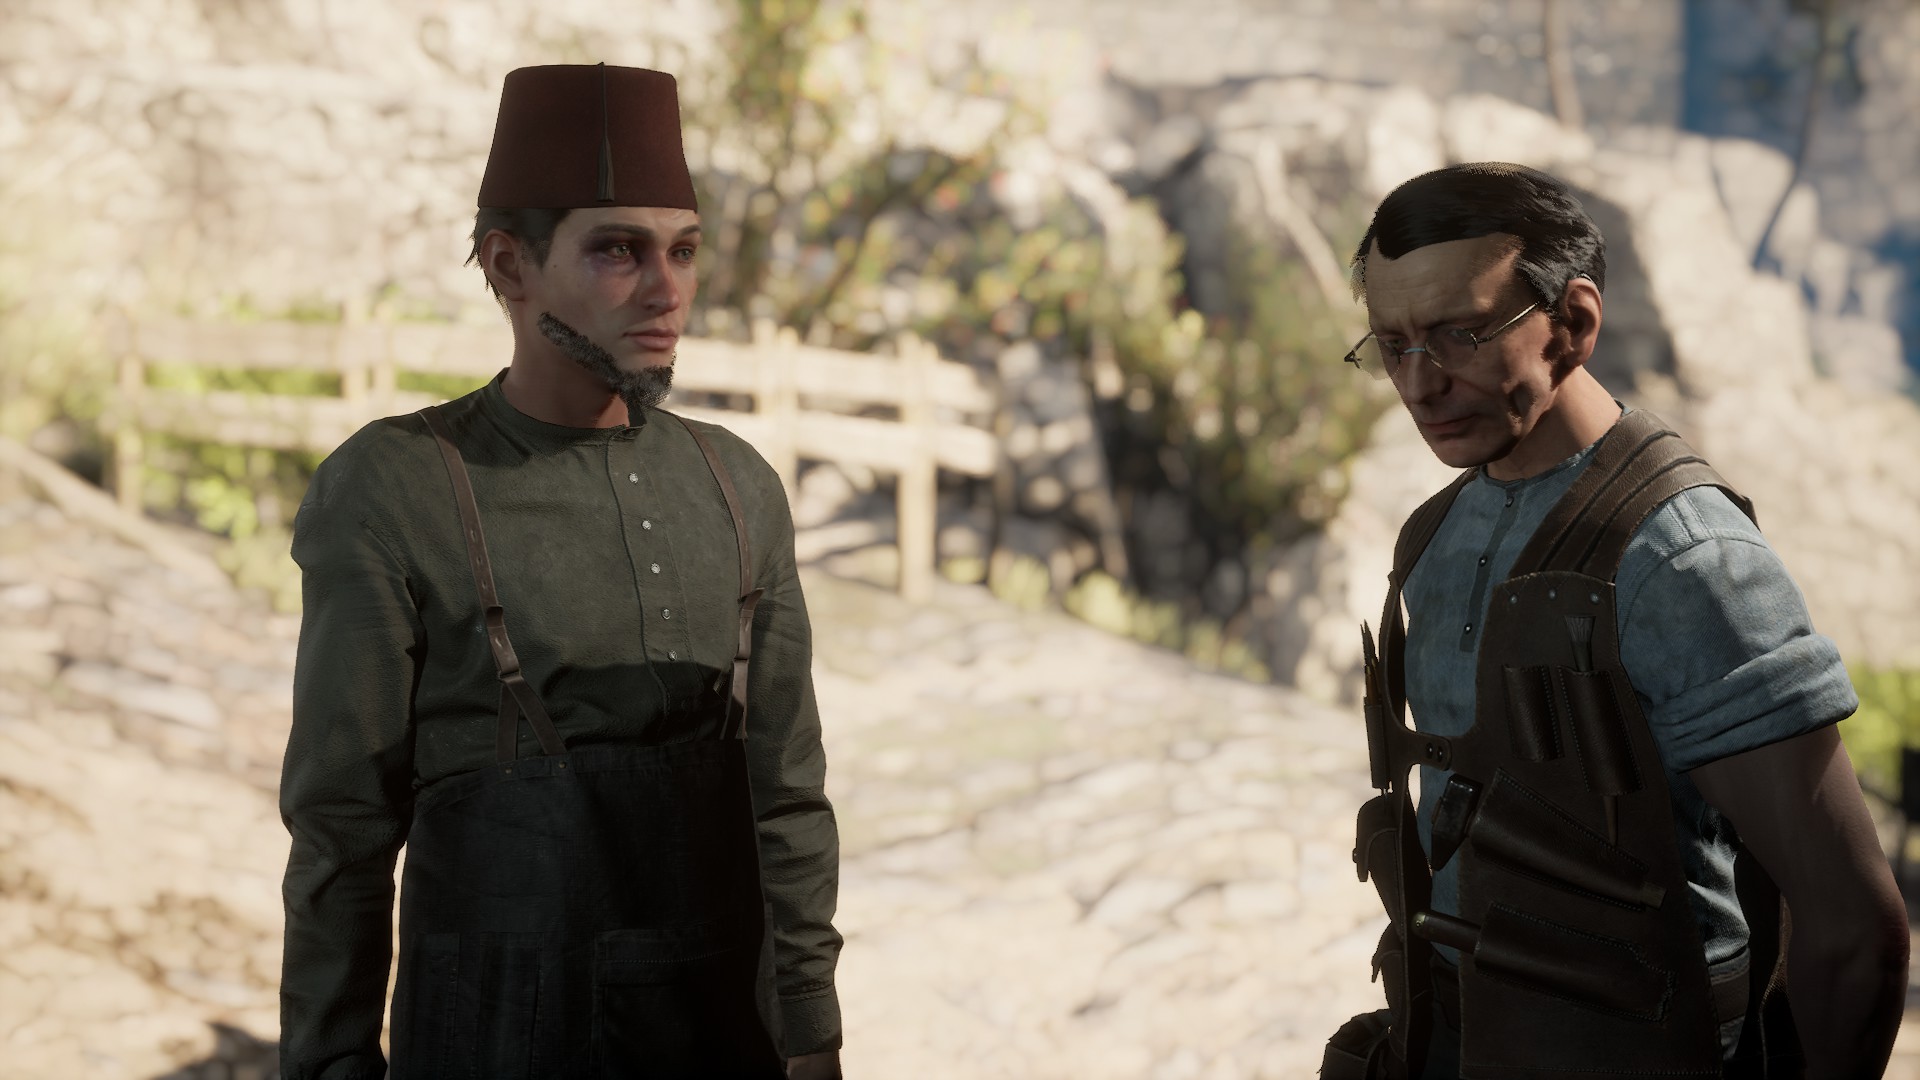
clothing merchant
We go to the nearest clothes seller, buy:
– beige Ottoman suit;
– men’s fez;
– a long beard.
We return to the yard.
yard
We turn to the man sitting on the threshold of the house.
Neighbor testimony
- “They went down the stairs to Castle Road in the Old City. The men got into the wagon at the shoe shop and left.
We activate the evidence “Indications of a neighbor.”
We go down the stairs, in the concentration mode we look at the smeared blood and at strange traces ..
Search for Angelo Dondolo
- “A local resident suggested where the wagon was. There were clear wheel marks.
We activate the evidence “Search for Angelo Dondolo”, we move along the trail left by the wagon.
old wagon
- “Following the tracks of the wheels, I found the wagon.”
Let’s take a look at the carriage:
– bloody bandages;
– green hat.
We go into the building nearby.
Bandits lair
- “I found a bandit’s lair.”
We deal with local bandits (or skip the fight).
We pass to the far left corner, we consider on the table:
– WEDDING RING (rotate until an active point appears);
– torture tool;
– Severed finger.
Let’s move on to another table, consider:
– map;
– keys.
Take BUNCH OF KEYS. We unlock the cell with them , where the prisoner was kept.
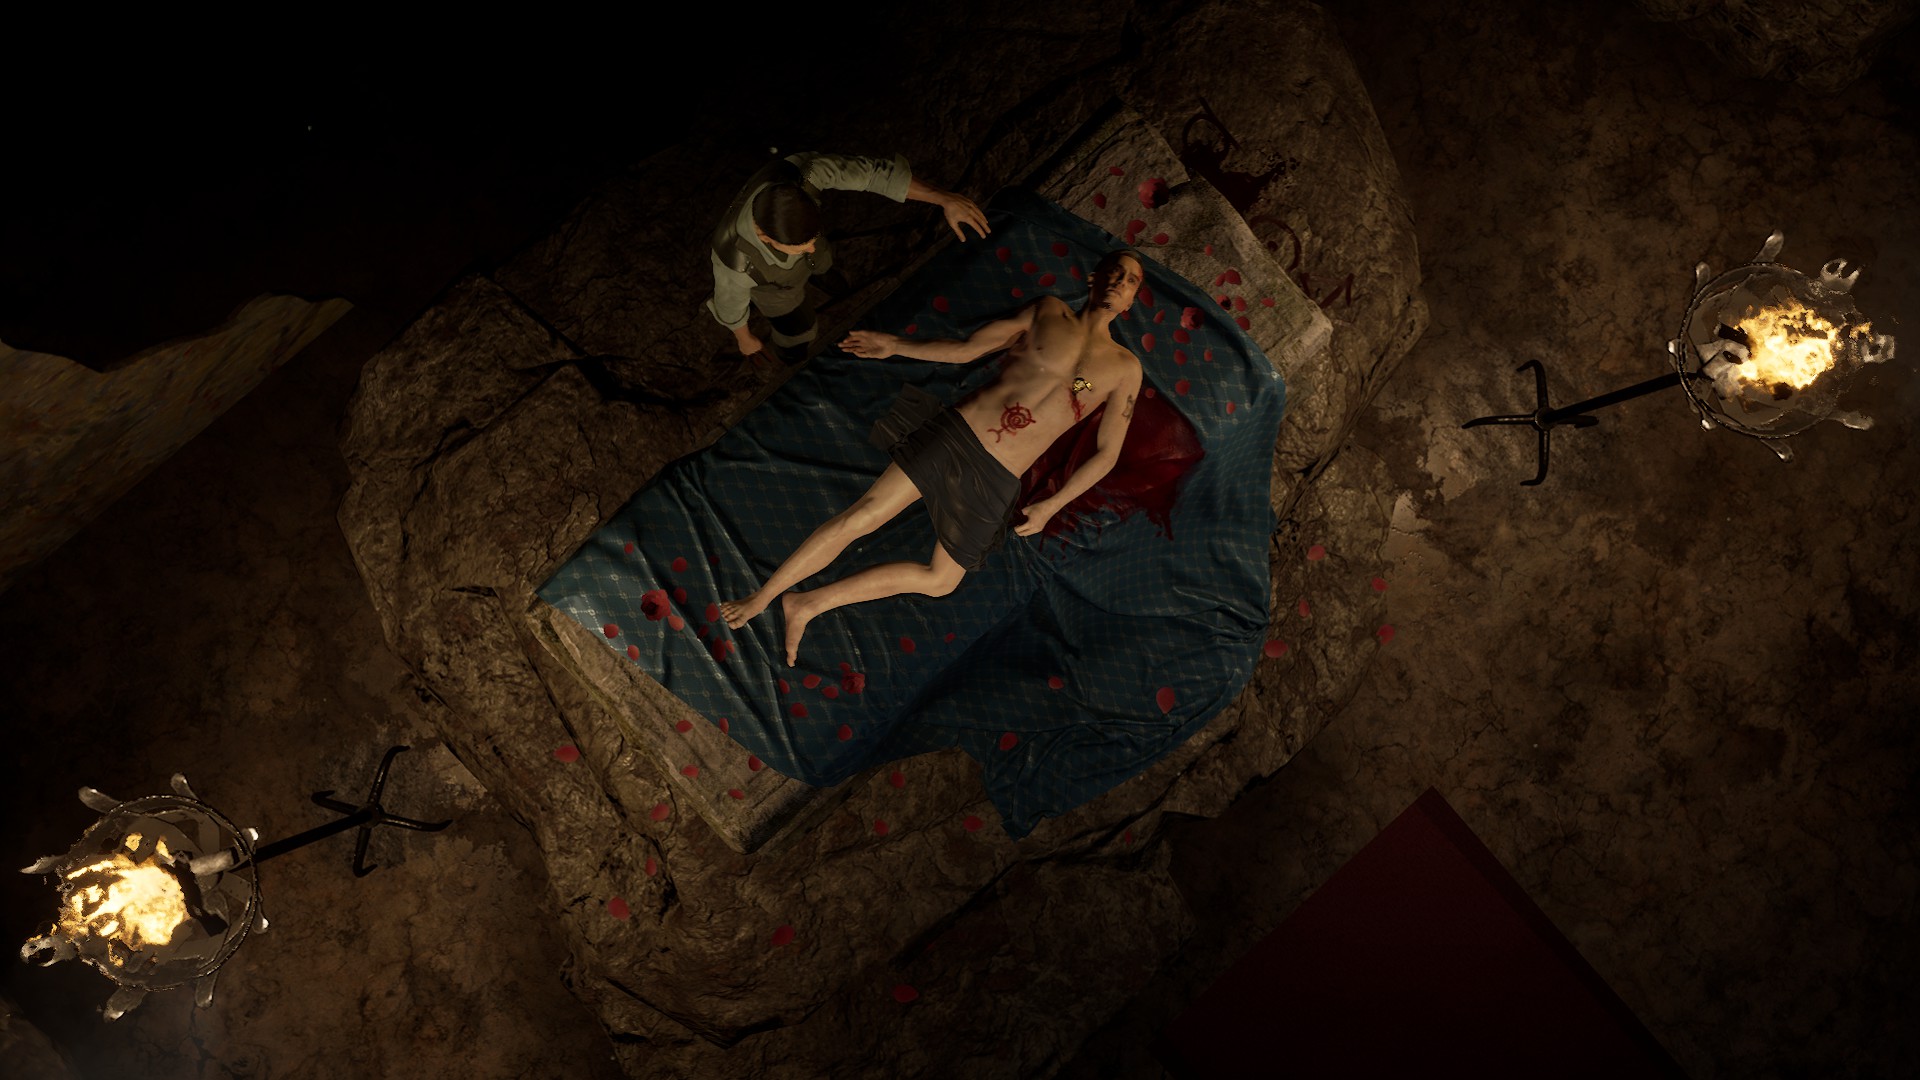
We pass into the next chamber, examine the corpse:
– face;
– the palm of the left hand;
– a tattoo on the right arm.
Angelo’s body
- “I found Angelo’s body in a bandit’s lair. I recognized him by the tattoo.”
We look at the books dumped nearby. We read the “Note from Mr. Hyde” lying on the table.
Bandits lair
- “From the note, I learned that the bandits did not find the book.”
We activate the evidence “Lair of bandits”, go to the chamber, which was opened first.
Valuable item (argument with John)
In concentration mode, look at the mattress.
We move the stone, we get the BOOK.
- “I found a book. This is “Crime and Punishment”, the author is Fyodor Dostoevsky.
The argument with John is won.
We go to the editorial office of the Chronicle.
Editorial office of the Chronicle
We show Yasemin the ring.
Case: “Love, death, Cordona”
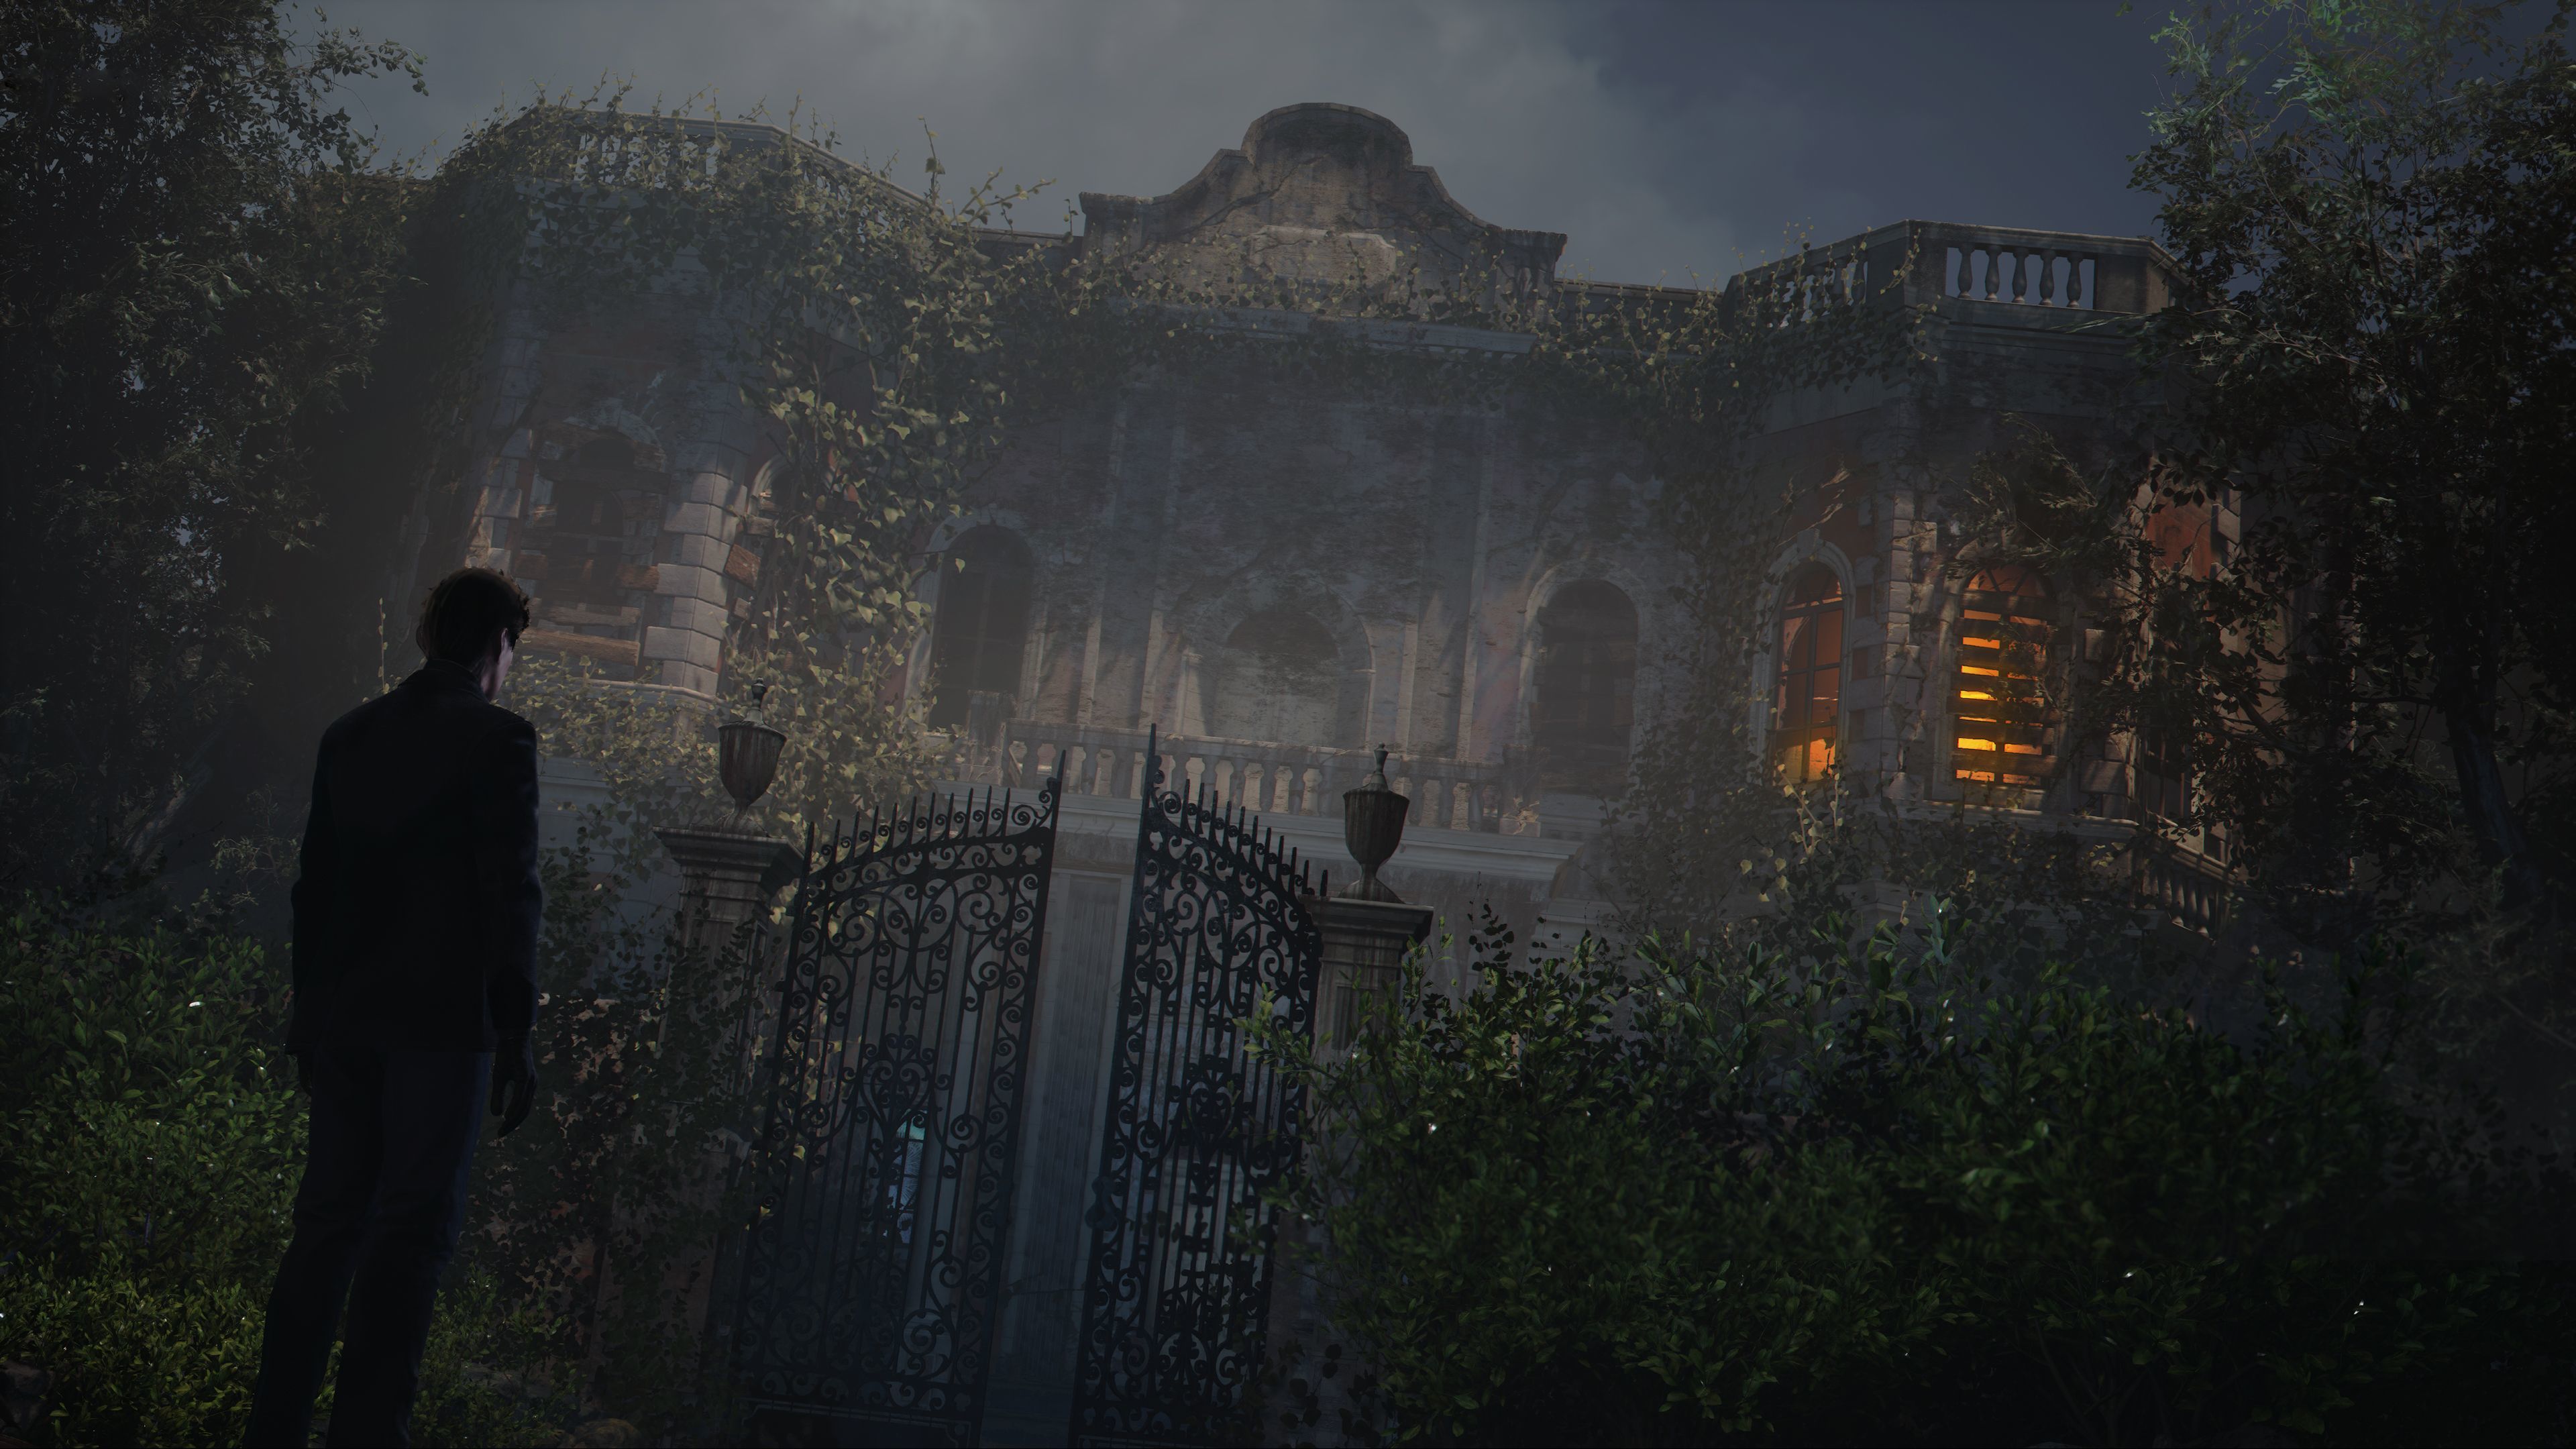
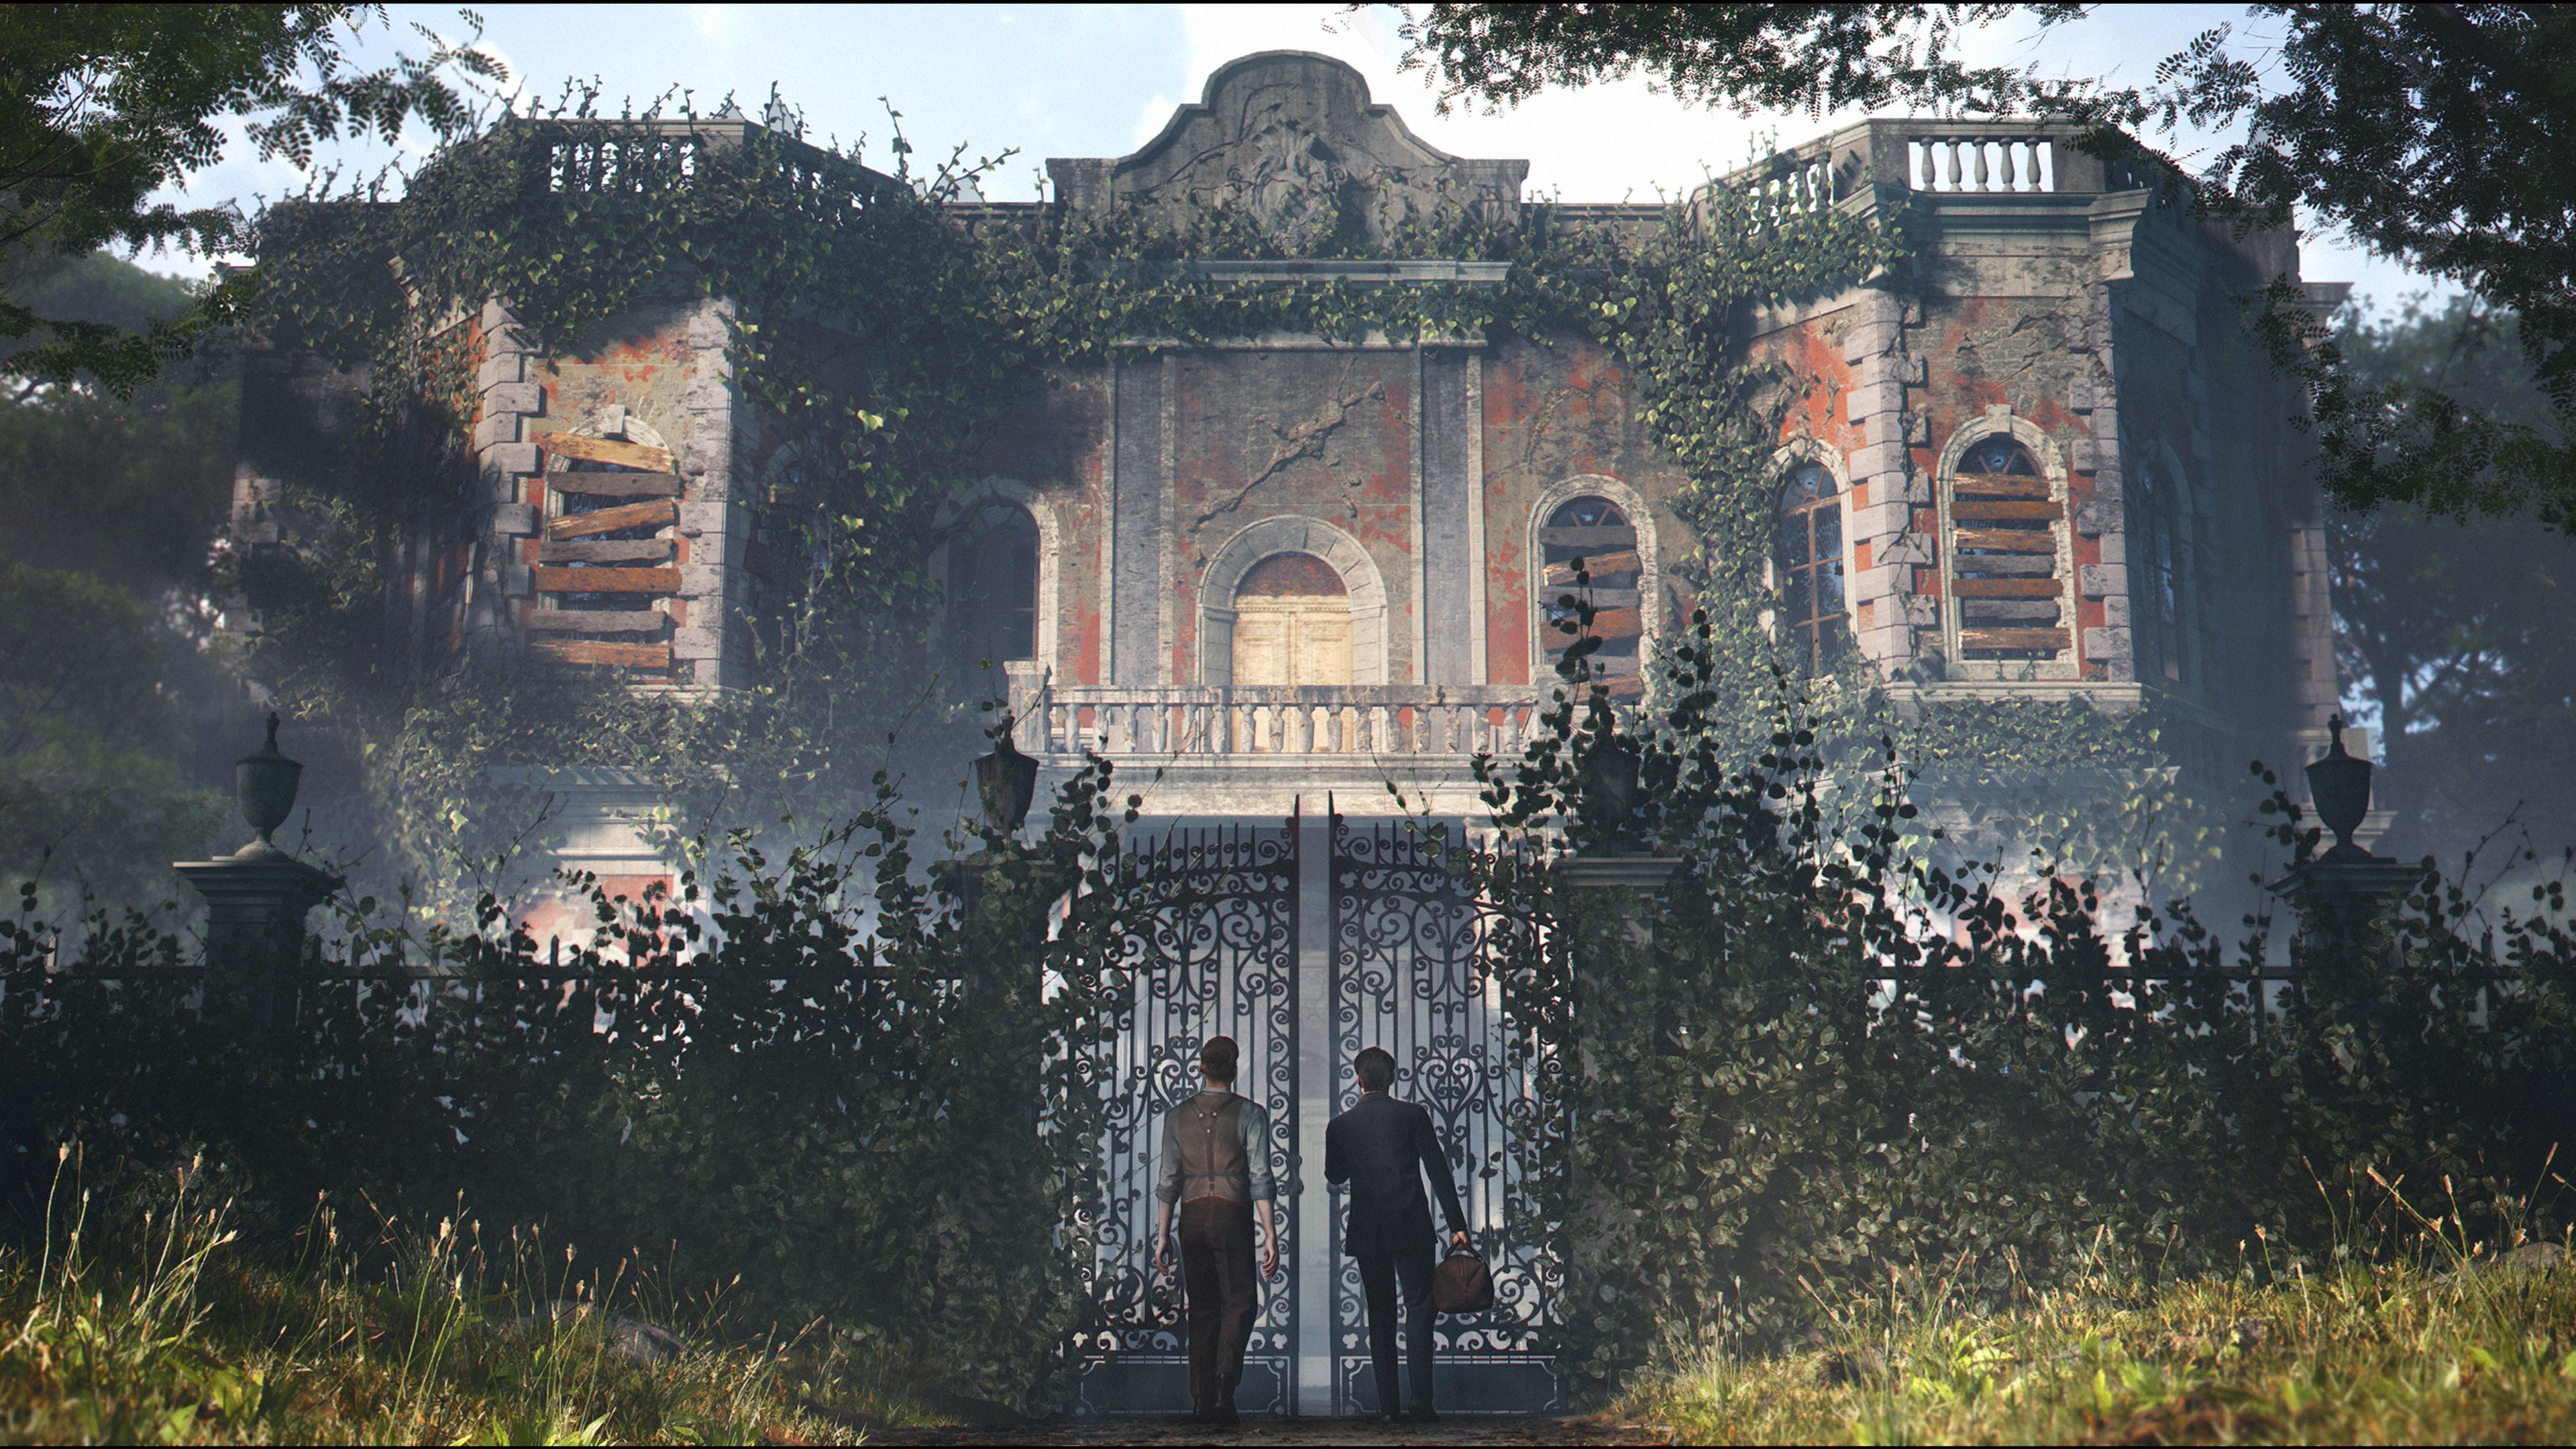
Note . The case is unlocked by talking to Mycroft’s envoy, Mr. Estevo, waiting at the gates of Stonewater Manor after completing the Overseas Muse case .
Mycroft’s request
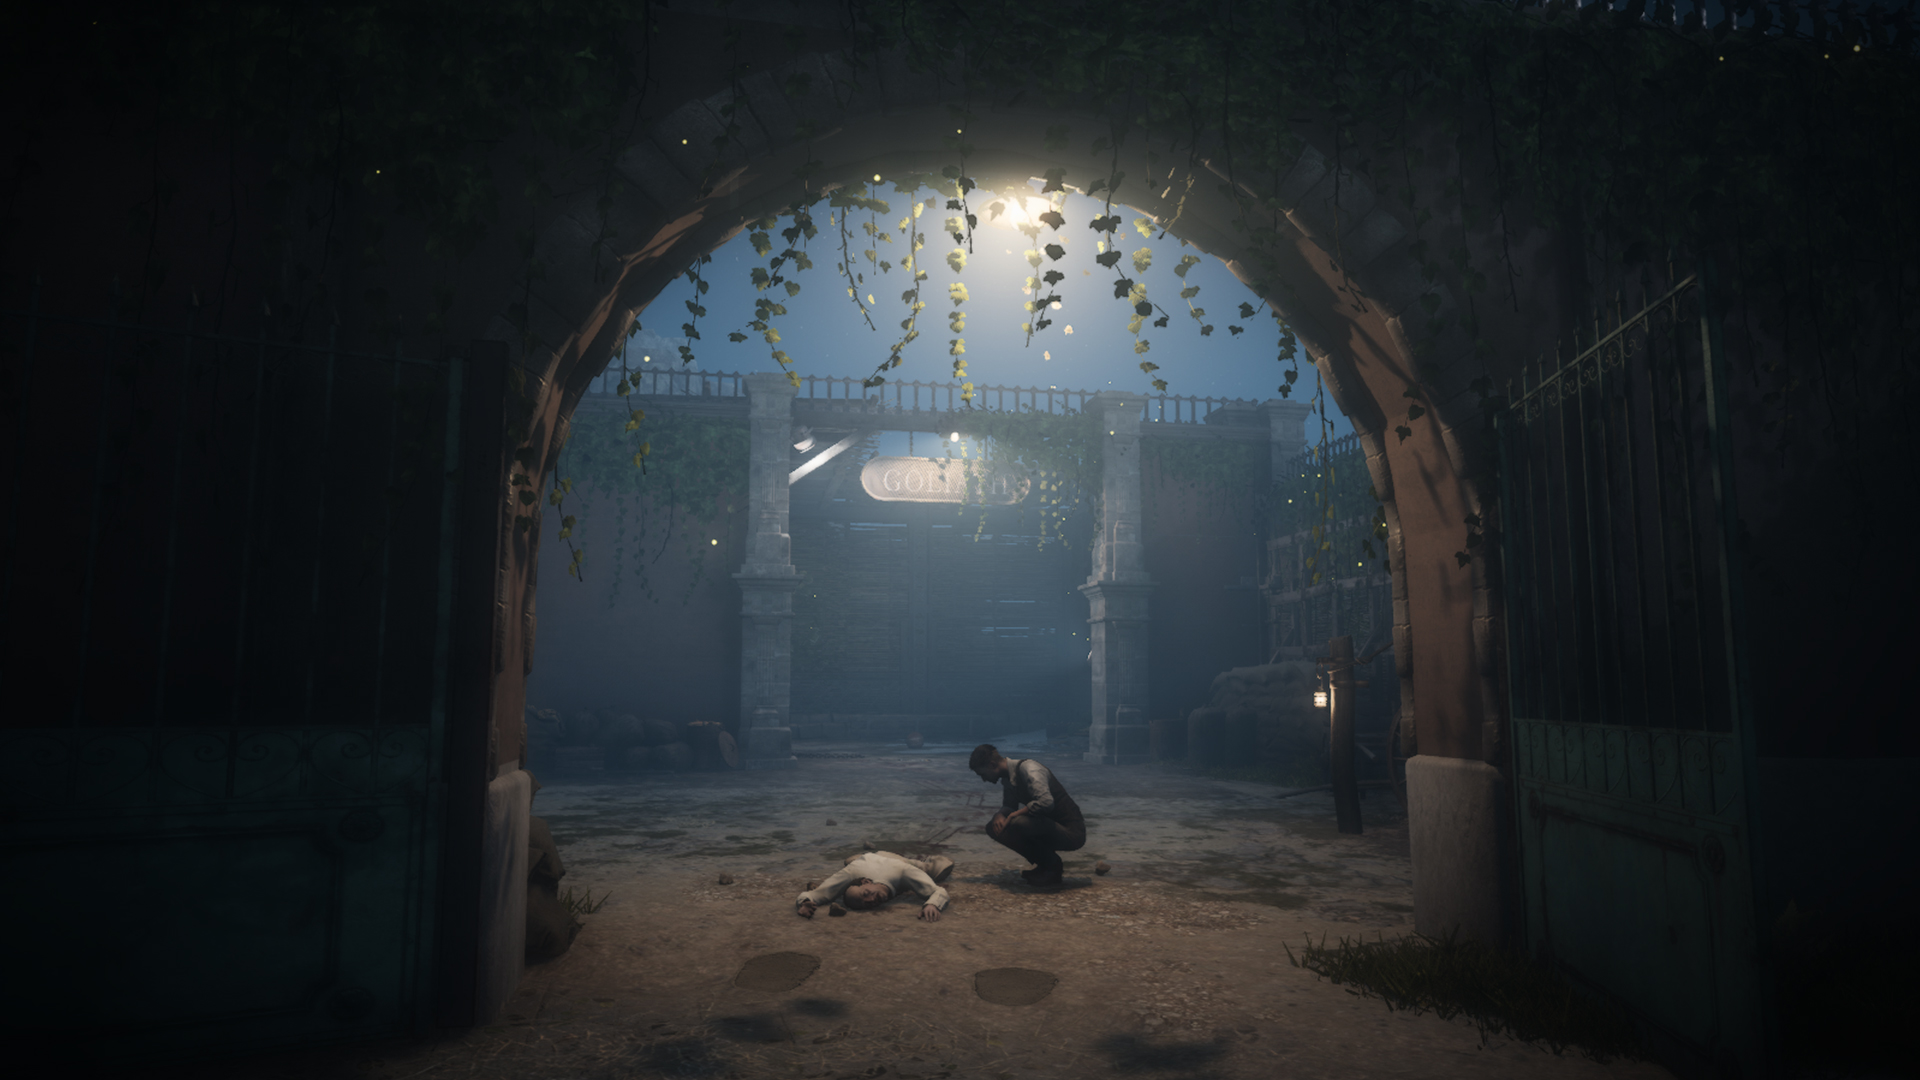
- “Someone is blackmailing Michael Ridley, son of General Arthur Ridley. The blackmailer made an appointment at the top of the bridge tower in the Old City. A good observation point will be the terrace of the Primula cafe on the western side of the bridge, in Scaladi.
We ship to the specified address .
Cafe “Primula”
We find a cafe, sit down at a table, at which John is already sitting.
- “While I was waiting in the cafe, someone fell off the tower.”
We go to the scene of the tragedy.
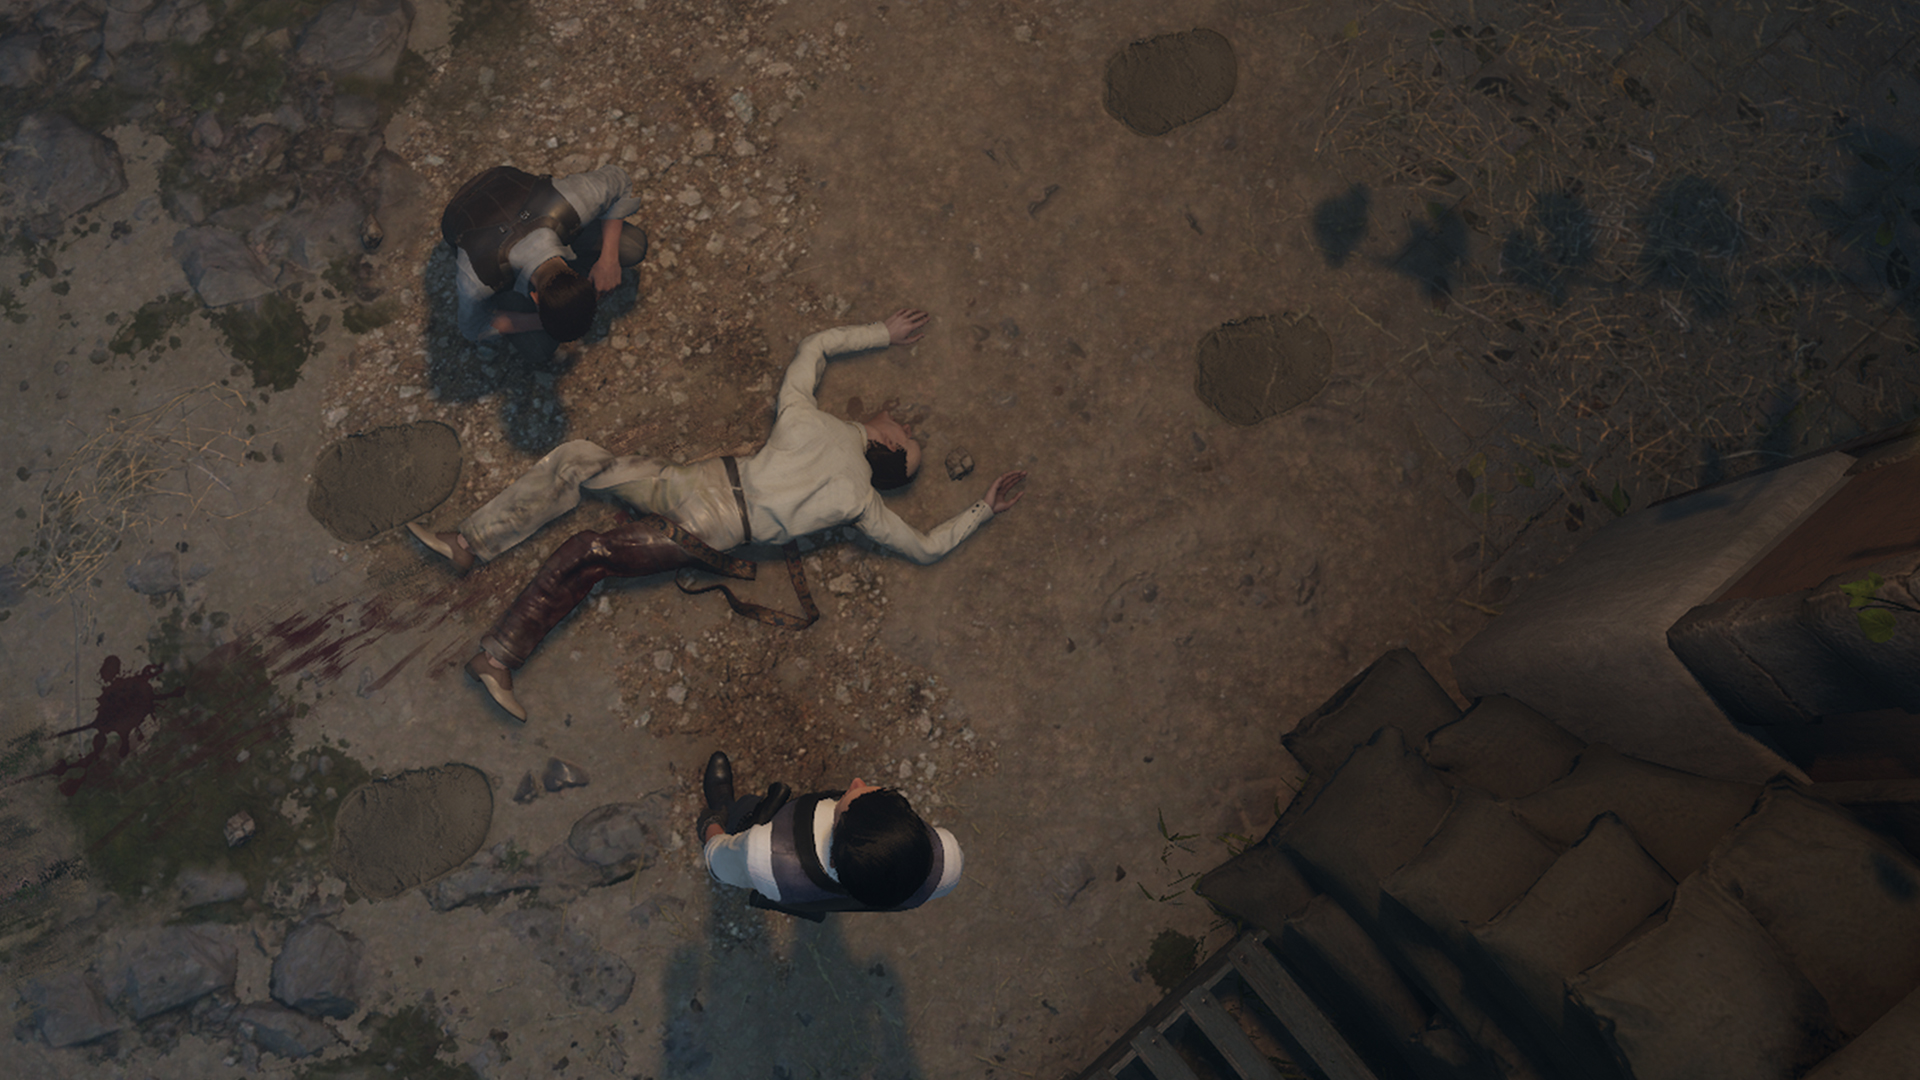
Bridge in the Old City
Victim’s file
- “Michael Ridley fell out of a tower window.”
Examining the body:
– head;
– SILK SHAWL around the neck (pick up);
– belly;
– KEY WITH TAG 4 on the belt (rotate until an active point appears and pick it up);
– left leg;
– empty scabbard.
We go to the tower, we turn to the sailor.
I can’t get through
- “The sailor at the entrance to the tower does not want to let me through.”
We present the evidence “Personal file of the victim”, we get permission to pass. We ask the sailor questions, we enter the tower.
bridge tower
At the top of the bridge tower
- “In a small room at the top of the tower, there were traces of a struggle and blood.”
In concentration mode, consider a broken table and an open box on the right. In the ashtray on the table we see a still smoking cigarette.
We examine objects on the floor:
– “LETTER OF A SHOCKER”;
– money.
- “The money that the blackmailer demanded, no one took.”
We examine the dagger lying by the window (rotate until two active points appear).
We look out the window.
The meeting ended badly
We interact with the sphere of retrospective, restore the course of events:
An unknown person with a dagger in his hand crawls out of the chest. The sailor pulls out a dagger.
A sailor with a dagger in his hand strikes an unknown person.
An unknown person stabs a victim standing at the window with a dagger.
- “I think the killer is still bleeding.”
We activate the evidence “The meeting ended badly.” In concentration mode, look at the rope on the block outside.
- “The killer went down the rope.”
From the hanger we remove the NAVY UNITS, we leave the tower. We ask the sailor questions.
Bridge in the Old City
We look at the rope stretched from the tower, we go along it. We cross the bridge, turn into the arch on the right.
We look at traces of blood at the landing site.
In concentration mode, we follow the trail that leads us to a pillar with knives (new case ” Pillar with knives ” in the “History of the Cordona”).
Pillar with knives
We take out from it the BLOODY KNIFE with the symbol of an eagle on the handle (rotate until two active points appear and pick it up).
Holmes’s actions cause displeasure of the local residents standing nearby.
We take a picture, return the knife to its place. We go to the clothes merchant.
clothing merchant
We buy an emerald Ottoman costume. We put on a fez and a thick beard, we return to the pillar.
Pillar with knives
Eagle symbol
We activate the evidence “Symbol of the Eagle”. Let’s ask the audience a question.
- “The Ottomans say it is the symbol of the Hassans, the most revered family in the Old City. Their house stands in the western part of the roar.
Victim’s file
- “Corporal Ridley lived in a requisitioned house near the bridge leading to the Old City. It’s worth asking the locals.”
We cross the bridge back, heading to the barracks .
We put on naval uniforms, enter the barracks.
barracks
We go to room number 4, where Michael Ridley lived.
On the table we read “Letter from the General.” We examine the photo in the poppy (rotate until two active points appear).
In concentration mode, look at the scratches on the floor.
We move the locker, look into the cache:
– “LETTER JAYLAN”;
– tickets;
– money.
silk scarf
- “The handkerchief is stained with blood. With the right solution, I can remove stains without damaging the fabric.”
We carry out a chemical analysis of the handkerchief.
- “I managed to purify the blood, and now the handkerchief will serve as a disguise.”
Victim’s file
We activate the evidence “Personal file of the victim”, we leave the room. We speak with the sailor washing the floor.
- “Mark Ridley had a reputation for being a rake, and only recently ended his adventures by meeting “the one”.
Eagle symbol
We activate the evidence “Symbol of the Eagle”, we speak with the sailor.
- “The sailors recognized the symbol of the House of the Eagle. General Ridley strictly forbade any conflict with the Ottomans, especially with this family.”
We go down to the lower level of the barracks.
We listen to what the sailors who clean their shoes say.
Select replicas:
“The General will make a speech”;
“Disobedience”;
“Revenge.”
Sailors are unhappy
- “I overheard the conversation of the sailors. They are unhappy with the Corporal’s murder and are eager to take justice into their own hands.”
We leave the barracks.
Jaylan’s letter
- “I will wait for you at dawn at my house. Look for the entrance above which there is no eagle. The servants are ordered to pass the ottoman in the handkerchief that I gave you.
We go to the clothes merchant.
clothing merchant
We buy “Ottoman clothes” and “Ottoman shawl”. We put on the “Silk Scarf”, go to the market in the Old City, to the House of the Eagle
Eagle House
We find the house of the Hassan family. We speak with the maid, we pass inside. We speak with Jaylan.
blood trail
- “Jaylan overheard the servants talking about the bloodstains at the main entrance.”
We activate the evidence “Blood trail”. We go to the main entrance in the courtyard.
In concentration mode, look at the bloody footprints. We follow the trail, we enter the laundry room.
We look at the bloodied shirt thrown next to the basket and at the basket itself.
- “At the basket with clean linen, I found a shirt soaked in blood. Apparently, the killer managed to change clothes.
No room for error (argument with John)
We go out into the yard. In the concentration mode, we look at the Turk standing to the right of the gate – he is wounded.
- “I’ll figure out the killer right away.”
The argument with John is won.
Watching him:
– face (tormented by conscience or nerves);
– neck (rash);
– torso (blood seeped through the bandage);
– right hand (cuts and scratches);
– scabbard (no knife).
We define its state as ” On edge “. Accused of murder.
Selecting clues:
What served as the murder weapon – “Photograph of a knife”;
When they could have committed a crime – “The meeting ended badly”;
What was the motive – “Jaylan’s Letter”.
We decide what to do.
” Save the World ” – Mycroft’s Endorsement (70 Coins)
” I am compelled to arrest you ” – Mycroft’s disapproval, Ottoman protests (79 coins).
We leave for the Stonewood estate, report to Mr. Estevo.
History of Cordona
Case: “Silence is golden”
Note . The case opens at the exit to the square in front of the city hall.
Remembrance on the square near the town hall
- “Walking around the square near the City Hall brought back memories for me. John wants me to focus and remember the past.”
We activate the evidence “Memories in the square near the town hall.”
We find the first cloud of memories, located at the flagpole, near which John stands. We enter the concentration mode, open the first memory.
The second cloud of memories is above the little Sherlock.
The next memory is the podium
The next is the governor’s speech (three clouds).
Another memory is of Sherlock being taken away by Mycroft.
Around the corner of the town hall Myrfot says to little Sherlock “Silence is golden”
REMEMBER – “Silence is golden.”
Case: Treasure Island Stage 1
Note . The case opens after a conversation with the herald in the square near the town hall.
Treasure search
- “As part of a program to attract tourists, the governor of Cordona is pleased to announce the start of a treasure hunt competition. The competition consists of three stages, at each of which eight photographic clues await the participants, pointing to the place where the treasure is hidden.
lion statues
We are heading to the Maltese bridge from the side of the Grand Saray.
Before exiting the bridge, we turn south, into a courtyard, fenced on one side by a high wall. We see two statues of lions. Behind the left statue we find TREASURE 1 .
Bench on the pier
We are heading to the shopping arcade in the Grand Saray.
We go down to the pier, on which there are benches for rest. We find TREASURE 2 .
HISTORY – Salacia Yacht Club.
Carriage in the yard
From the square near the town hall we move east, to the Bridge in the Old City.
To our left we notice a large building of the Port Authority. We pass through the open gate.
As shown in the hint picture, go right, go down the stairs. We find TREASURE 3 .
HISTORY – “The Legend of Cassia”.
long bridge
From the place where we received the third treasure, we go down to the arch visible below .
We go down through the arch to the shore, go to the right, to a tree growing near the bridge. We find TREASURE 4 .
short bridge
We are heading to the theater “Heritage”.
We pass to the south, into the square, with a fountain in the center. In the western part of the square we cross a short bridge. We turn around and find TREASURE 5 .
DOCUMENTS – “Sir William Sinclair’s Welcome Address.”
Secluded gazebo
From the Stonewood mansion we go to the northeast.
We go to the gazebo with a fountain. In the pool of the fountain we find TREASURE 6 .
Tall tower
We head to the Watchtower “Hava”, located in the Old City. We find TREASURE 7 on the platform with the workshop, next to the workbench.
Sandy shore
We go to the northern tip of the Old City, to the area of the “Observation Deck” fast travel point.
We go down to the water. We move over the stones to the left of the broken boat, we find TREASURE 8 .
Treasure search
- “I found all the treasures of this stage. We must return to the herald.”
We activate the evidence “Search for treasures”. We return to the square near the town hall, we speak with the herald.
Case: Treasure Island Stage 2
Treasure search
- “I have received new photographs and can continue to search for treasures.”
Large warehouse
We head to the area of the Finch cannery.
We pass to the territory of the plant. On the platform in the center, on which two workers are talking, we find TREASURE 9 .
HISTORY – Road to Nowhere.
rocky shore
From the fast travel point “Stonewood Mansion” we go to the “Elephant Manor”, deviating to the right.
Along the rocky path between the rock, on the bark, there is a mansion on the right, and a staircase, on the left, we go down to the shore. On the stones on the left, closer to the Greek bridge, we find KLAD 10 .
Staircase in the tower
We are heading to the Thor Bridge connecting Silverton and Scaladi.
In the middle of the bridge we find a passage to the stairs leading down. We go down, we find TREASURE 11 .
destroyed column
From the bridge of Caesar, which connects the Miners’ Limit and Scaladi, we pass along Bonaparte Street to the north.
We rise along the stone steps to the right. In the arched gallery, behind the railing, we find TREASURE 12 .
HISTORY – “The Maltese Falcon of the Hospitallers”.
small square
From the Heritage Theatre, head north, exit onto Queen Street. We turn east.
We move forward, turn into a small square, located on the left side. In it we find TREASURE 13 .
HISTORY – “Scaladio: about the origin of the name.”
Secluded corner with sea view
From the fast travel point “Grand Barn – South” we move east. We open a new place “Promenade” and a fast travel point of the same name (if you have not opened them before).
On the promenade we see the place depicted on the tip. We go to the place indicated by the arrow, we find TREASURE 14 .
Bridge tower
In this case, the “Pillar with knives” can serve as a guide (if you completed the corresponding quest).
From it we climb the stone stairs to the upper platform. On the barrel we find TREASURE 15 .
closed mine
The starting point for searching for a closed mine is the “Silver Mines Monument”.
From it we go west, we go out to an abandoned mine. Near a low fence on the right we find KLAD 16 .
HISTORY – “Abandoned Mines – Lost Lives”.
Treasure search
- “I found all the treasures of this stage. We must return to the herald.”
We activate the evidence “Search for treasures”. We return to the square near the town hall, we speak with the herald.
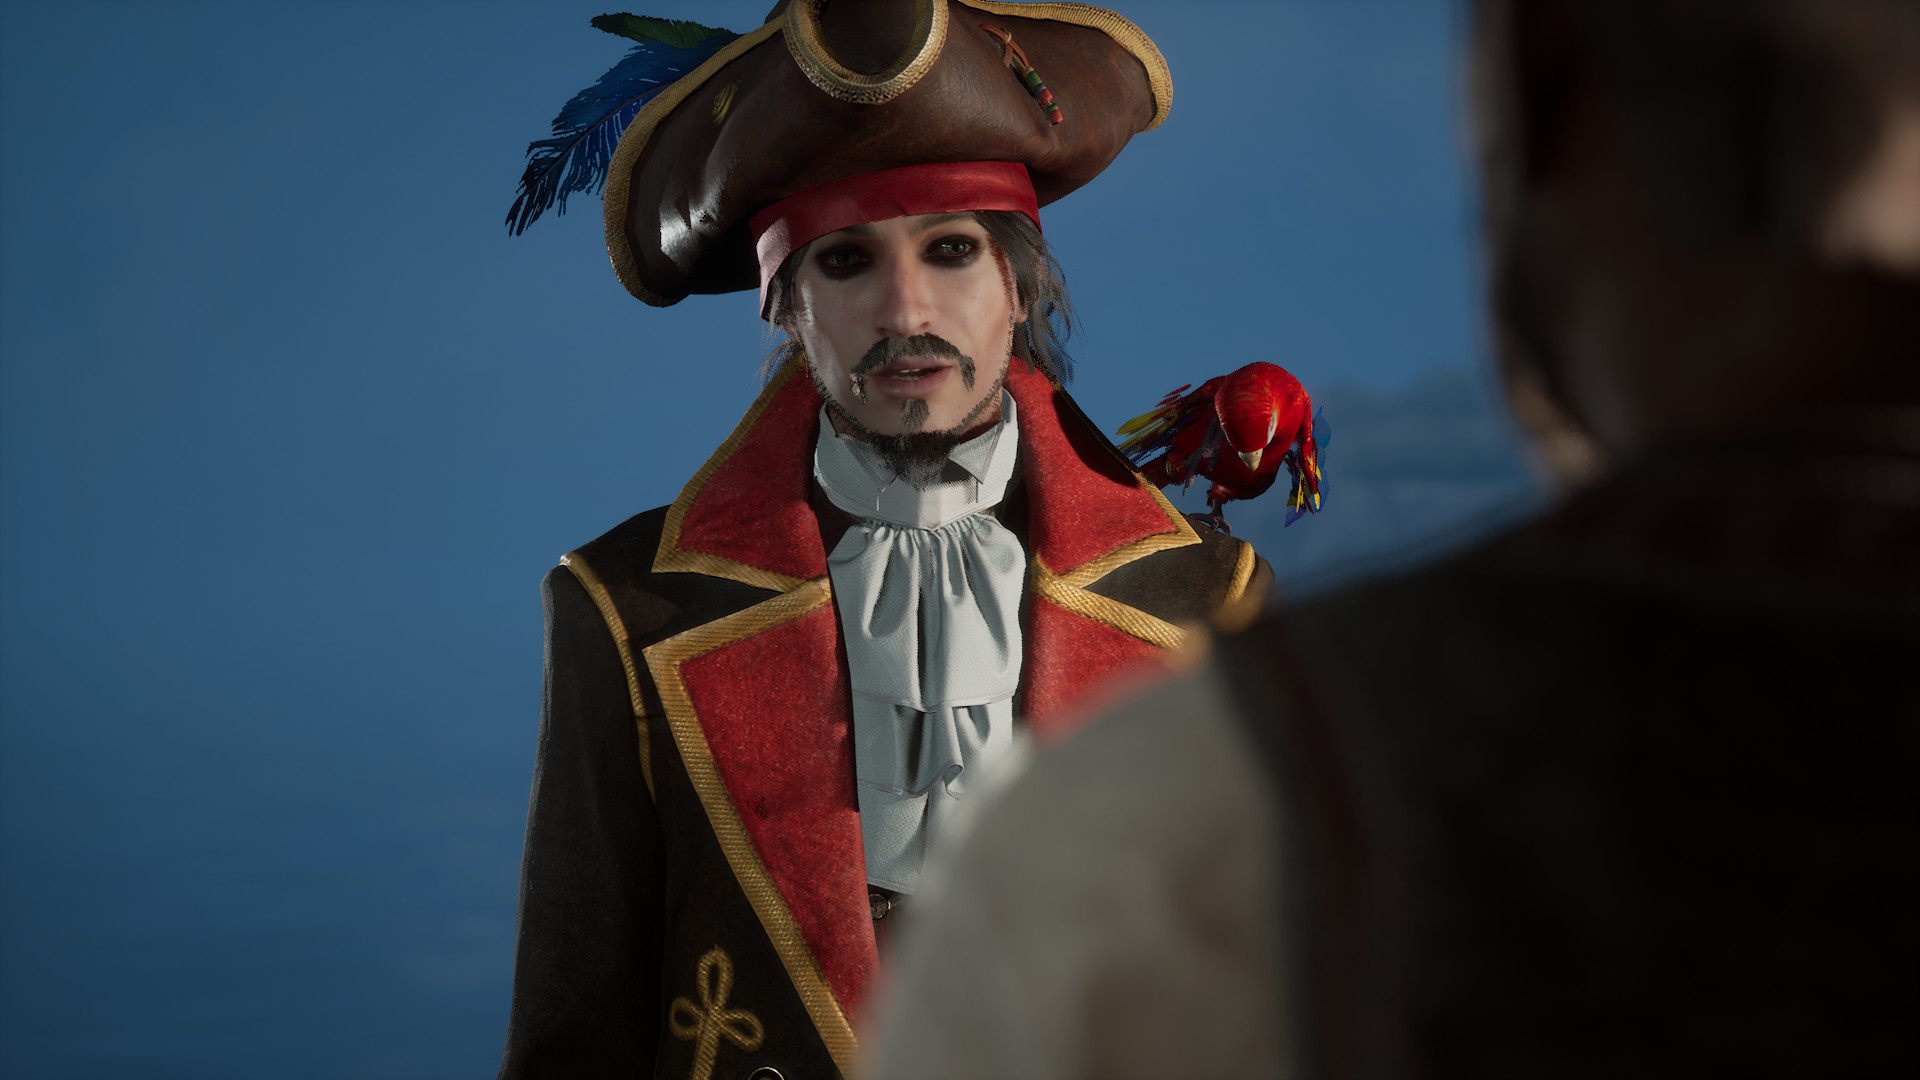
Case: Treasure Island Stage 3
Treasure search
- “I have received new photographs and can continue to search for treasures.”
Under the pipes
From the Rolling Brix Bridge we go northeast along Arsenal Street.
At its intersection with Gloucester Street, we pass under the balcony of the corner building on the left, we find TREASURE 17 .
“PIRATE BEARD” in the wardrobe.
old bridge
We head to the Stevenson Bridge, which connects Miners’ Limit and Silverion in the north.
We find TREASURE 18 near the metal support behind the bags and barrels in the center of the bridge.
“PIRATE ARROWS” in the wardrobe.
Rock
From the Stonewood mansion we are moving south, towards the Elephant Manor.
On the way down, go up the steps on the left.
We turn right into the gazebo. Inside we find TREASURE 19 .
next to the crane
From the watchtower “Hava” in the Old City, we move northeast along Ram Street.
We notice the boom of the crane. Under the lantern, opposite the crane, on the ground we find TREASURE 20 .
House from different blocks
From the watchtower “Hava” in the Old City, we move south along Ritsa Street. We turn right onto Pape Street, which takes us to Bakery Street. At the intersection of Bakery Street and Sesame Street, near the makeshift table, we find TREASURE 21 .
Costume “CAPTAIN OF A PIRATE SHIP” in the wardrobe.
Market in the yard
From the building of the Cordona police station in Scaladi, we go north along Anselmi Street. We go down the stairs to Reed Street.
We pass a little to the right, we go into the courtyard with a fountain on the left. Under the stairs, near the barrels, we find TREASURE 22 .
“CAPTAIN’S TRIANGLE” in the wardrobe.
tree on the bridge
From the fast travel point “Promenade” in the southeast of the Grand Barn, we move west along Bonanza Road (from the point “Grand Barn South” – to the east).
We notice the lantern next to the tree on the bridge, marked in the hint picture.
We return to the “Promenade”, go up the stairs to the left.
Having risen to Goifrey Street, we turn left.
We go to the top platform. Under the lantern we find TREASURE 23 .
Aqueduct
We are heading to the “Imperial Aqueduct” in the mining Reach.
From the fast travel point “Imperial Aqueduct” we go north.
Behind the house we immediately turn to the west.
We pass under the remains of the aqueduct. We go around the brick pillar of the aqueduct on the left, we find Klad 24 .
HISTORY – “Aqueduct”.
Treasure search
- “I found all the treasures of this stage. We must return to the herald.”
We activate the evidence “Search for treasures”. We return to the square near the town hall, we speak with the herald.
Costume “CAPTAIN JOHN SILVER” for John in the wardrobe.
Case: “For the birds”
Note . The case opens after examining the “Silver Mines Monument” next to the ” Silver Hephaestus ” in the Miners’ End.
Silver Mines Monument
- “While we were walking along Silva Street in Miners’ End, near the mines, a monument in the form of an empty cage caught my attention. John offered to take a closer look.
We look at the monument:
– inscription at the bottom;
– empty cell (in concentration mode);
– bent rods on the right.
- “The bars of the cage are bent and the bird is gone. The canary seems to have disappeared a long time ago and has become something of an urban legend.”
We activate the evidence “Silver Mines Monument”. We use the concentration mode, we find a responsive local resident . We ask a question.
History of the Silver Canary
- “They say that local legends are often told in the Flowers of Kindness pub. It is located by an alley at the northern end of Lestrade Road.
We activate the evidence “The History of the Silver Canary”, we go to the pub .
We listen to the conversation of two men standing at the entrance. We select replicas:
“Thrown into the sea”;
“Poverty in the Mining City”;
“Lost family”;
“Stole a canary.”
Miner’s sorrow
- “In the Flowers of Kindness pub, we learned about a man who lost his family in an accident near the mines. Mad with grief, he stole a canary and threw it into the sea.
HISTORY – “Silver Canary”.
Case: “The Tale of the Empty House”
Note . The case is opened during the passage of the quest “A Mother’s Love” after reading the announcement of the auction in the empty hall of the Stonewood mansion.
Three, two, one… SOLD!
- “Shortly after our departure, some things from the mansion were sold under the hammer. I doubt that we will find them on the shelves, but you can try.
Note . During the quest “Mother’s Love”, while traveling around Cordone, we could notice how active points were opened, which were displayed on the map in the form of green circles with the image of a chair. These are the locations of merchants of various goods. The exclamation mark on the icon means that we have not been to this merchant yet.
In the Trade Rows in the Grand Saray, we buy three items from the seller of garden decorations .
From the seller of paintings , whose shop is located next to the seller of garden supplies, you can buy five paintings.
In the market in Scaladi from the seller of expensive furniture , we purchase five pieces of furniture.
We buy five items from the seller of oriental furniture in the market in the old city.
We buy four items from the seller of cheap rarities , whose shop is located next to the Torsky bridge.
We go to the Stonewood mansion .
Restoration: Front yard
- “I returned to the front yard everything that was there before. Maybe now you can remember something.
We activate the evidence “Restoration: Courtyard in front of the house.” Near the gazebo we find a cloud of memories.
We enter the concentration mode, open five clouds of memories.
MEMORY – “Put the pig at the table.”
Restoration: Hall
- “I bought some things from the merchants and restored the hall to its former appearance. Now he reminds me of a lot.”
We activate the evidence “Restoration: Hall”, we enter the mansion. We enter the concentration mode, activate the cloud of memories.
FLASHBACK – Down the railing.
Restorations: My room
- “In the mansion, I found furniture that used to be in my room. Will she remember anything?
We activate the evidence “Restoration: My room”, we go to Sherlock’s room.
We enter the concentration mode, interact with the cloud, open memories.
FLASHBACK – Second Bed.
Restoration: Mother’s room
- “Now in my mother’s room, everything is as it was ten years ago. I’m sure I’ll remember something from my childhood.”
We activate the evidence “Restoration: Mother’s Room”, go to the mother’s room.
We interact with the cloud, open memories.
MEMORY – “Little Drama”.
Restoration: Storage of rarities.
- “Most of the valuables from my mother’s storage have been lost, but I still managed to return something. The vault of rarities, for sure, is associated with fond memories.
We activate the evidence “Restoration: Vault of rarities”, go to the vault.
We interact with the cloud, open memories.
MEMORY – “Wandering Books”.
Case: “The Ghost hunter”
Note . The case is opened by looking at a poster attached to the wall of a building next to the Walking Dutchman pub .
ghost announcement
- “I noticed an unusual ad in Silverton that mentions a ghost.”
STORY – “Ghost hunter’s announcement.”
- Luigi will help you. Come to the South Pier in the Port of Silverton.”
Activate the “Ghost Announcement” evidence. We put on the clothes of the Ottomans, we turn to any woman (evidence “Terrible story”).
We change into our usual suit, we go to Silverton port . Along the way, we open a new temporary place ” Reception point “.
We look at the overturned ad, consider:
– fragments of a bottle;
– a stain of blood on the pavement;
– overturned announcement (evidence “Meeting Place”)
Venue
- “It seems that someone is tired of Luigi sowing panic and instead of money, the poor fellow received a beating.”
We activate the “Meeting Place” evidence, interact with the cloud of memories in the concentration mode. We trace the events that have taken place.
hunter hunt
- “Running away, Luigi left many traces, it will be easy to find him by them.”
We activate the evidence “Hunting the hunter”. We turn on the concentration mode, follow the tracks left by Luigi, examining the active areas. We find ” Luigi Mansions “.
We go inside, we see Luigi lying on the bed. Looking at the table:
– Cup;
– coins;
– homemade wind instrument (rotate until two active points appear);
– picture of the ad.
Case: “The Hand-Me-Down”
Note . The case is opened during the investigation of the “Golden Cage” case at the moment of passing by a statue in the form of a hand at the intersection of Arno Street and Scarlet Street in the Old City.
Monument to the Silver Hand
- “At the junction of Arno Street and Scarlet Street stands a monument to the legendary pirate named Karim Silverhand.”
We read the inscription on the plate.
- “John climbed up the monument, found a riddle in verse there, and offered me to solve it.”
Riddles of the Silver Hand
- “To find ancient pirate treasures
At the intersection of Eve Road and Crooked Street, you must stand.
Find the mosque with your eyes, go left without looking back
You will see the well of cherished desires along the way.
We activate the evidence “Mysteries of the Silver Hand”, we go to the intersection of Eve Road and Crooked Street.
We turn to face the “Mosque of Imam Zahir”. We move to the left, we go into the courtyard on the right .
In the concentration mode, we look at the cache in the fountain, we get the second riddle.
- “Hurry up, it’s not worth wasting time in vain –
It’s time to move east from the ruins.
There, an arch of stone has been waiting for you for a long time,
That has long protected the ancients.
” Old ruins ” are located in the southwest of the Grand Barn (we could pass by them).
From them we move to the east, we go out to the natural stone arch. We pass under the arch, on the stones on the right we find a cache.
In concentration mode, we move the stone, we get the third riddle.
- “This time I will give a clear guideline –
Mighty tree at the old ruins.
You will not find untold riches with him,
You will find another treasure.”
We return to the ruins in the same way as we came, we stop in front of a tall tree.
We look at the stone in concentration mode. We move the stone, take the magnifying glass.
MEMORY – Treasure of the Silver Hand.
Case: “Flashes of Merriment”
Note . The case opens at the moment of passing by the theater “Heritage” .
Poster of the theater “Heritage”
- “John noticed a poster on the wall of the Heritage Theatre, located between Bonaparte Street and Jauniela Street in Skaladir.”
We study the poster.
- “The poster talks about a production of Hamlet by a children’s troupe.”
Memories of a play
- “John remembers nothing about our performances. I think if I concentrate properly, I will help him remember what we did behind the Heritage Theater.
We activate the evidence “Memories of the play”, we go to the backyard of the theater. We go down the stairs to the back entrance .
Consistently activate memories.
MEMORY – “Flashes of Merriment”
Case: “Pillar of knives”
Note . The case is opened during the investigation of the case “Love, death, cordon”, when we find ourselves near the ” Pillar of knives “.
Pillar with knives
- “I found an unusual wooden post, all studded with knives. It seems to have a special meaning for the locals. Maybe I’ll hear something at the market in the Old City.”
We activate the evidence “Pillar with knives”, we go to the market in the Old City .
We listen to what the two Arabs are talking about.
Select replicas:
– “Honor of the family.”
– An ancient custom.
– Blood vengeance.
- “The pillar stands at the barracks. I wonder if the soldiers talk about him?
I’m going to the pole. From it we go to the barracks , where we visited during the investigation of the case “Love, death and cordon”.
We go around the building on the right, listen to what the sailors say.
Choose phrases:
– “Ottomans scoff.”
– “Next to the barracks.”
“Just waiting for orders.”
HISTORY – “Pillar with knives.”
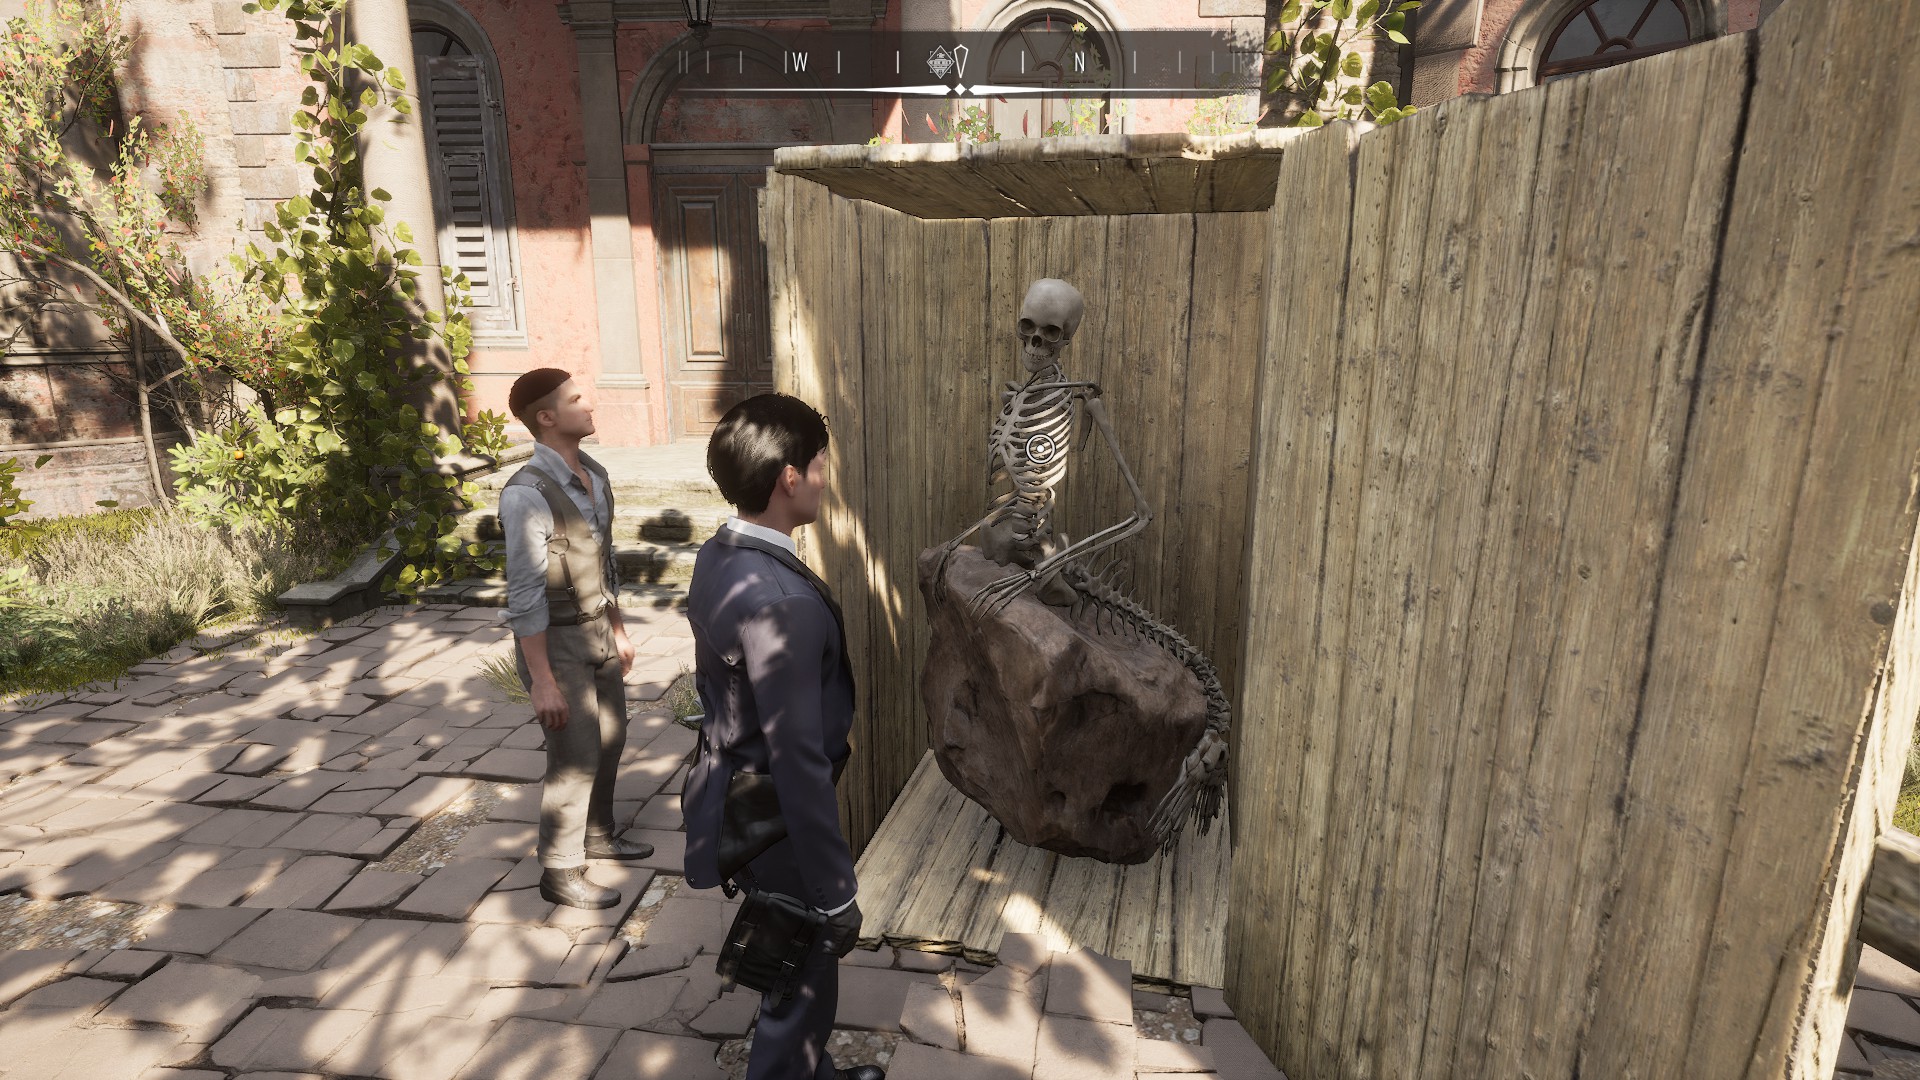
Case: “A Mad Rogue”
From the Imam Zahir Mosque fast travel point, head north along the eastern end of the Old City. We open a new place “The ruins of the fortress of the Holy Spirit.”
Our secret
- “It all started in the Old City, when we walked along the Bazaar Road past the ruins of the fortress of the Holy Spirit. Then, many years ago, we found one thing, and John said that he had an idea.
We activate the evidence “Our secret”. In concentration mode, we launch memories.
We follow in the footsteps of the children.
We find the place where the children buried the skull.
We open the grave, we take out the skull. Rotate until an active point appears.
Let’s see the insert.
MEMORY – “The imaginary skull of Seagor Holmes.”
End of Sherlock Holmes: Chapter 1 (Mycroft cases & Cordona Tales), continued in the Sherlock Holmes: Chapter 1 (Mycroft cases & Cordona Tales) walkthrough.


A game of very high quality. Although some aspects might have been executed better, we would recommend this game without hesitation.
While Chapter One can be a little too cumbersome and lacking in logic at times, young Sherlock’s investigation into the many mysteries on Cordona Island provides more than ample breadth and depth for any armchair detective.


Top Adventure Games
More