


Downfall – Freeware (Part 2/2)
DOWNFALL (FREEWARE VERSION)
WALKTHROUGH – PART 2
*******************************************
~~~~~~~~~~~~~~~~~~~~~~~~~~~~~~~~~~~~~~~~~~~~~~~~~~~~
PLAYING AS YOUNG JOE
~~~~~~~~~~~~~~~~~~~~~~~~~~~~~~~~~~~~~~~~~~~~~~~~~~~~
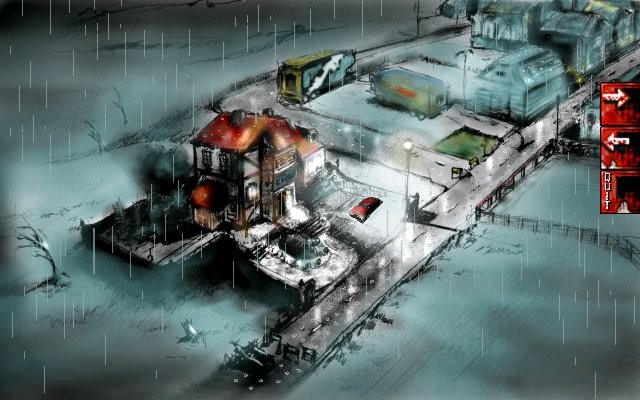
UNFINISHED BUILDING
You and your younger brother Robbie are at a building site, outside an unfinished building, and you‘ve been told there‘s a briefcase filled with treasure buried somewhere nearby. You want to find that briefcase. You need to sneak past the drunk guard without him catching you. Notice the big bag of sand on the scaffolding above the guard. Pick up STONE from pile of stones on the left. Take CROWBAR that’s leaning against the pile of sand. Notice the 2 long planks balanced upright, high up on the right of the scaffolding. Throw STONE at the upright planks. Repeat this, and the planks will tumble, knocking the bag of sand down onto the guard. Now walk right to the Building Site.
BUILDING SITE
Look at that big block of concrete in the ground. It’s too heavy to move by hand, so use CROWBAR with the block of concrete to pry it open. Hmm, there’s no briefcase filled with treasure here. There’s only a landmine. Better leave it alone, and get out of here. Except… your brother Robbie picks up the landmine… and it explodes, killing him instantly. You wake up back in the Quiet Haven Hotel.
~~~~~~~~~~~~~~~~~~~~~~~~~~~~~~~~~~~~~~~~~~~~~~~~~~~~
PLAYING AS JOE
~~~~~~~~~~~~~~~~~~~~~~~~~~~~~~~~~~~~~~~~~~~~~~~~~~~~
SECOND FLOOR HALLWAY
You’re on the Second Floor in the hotel, and you still have the CROWBAR from your flashback. Now, if you remember your last encounter with Receptionist, she wanted to play a game of Hide & Seek with you. Well, now is the time to track her down. But before we do that, let’s pay a quick visit to Doctor Z. Enter Room 201.
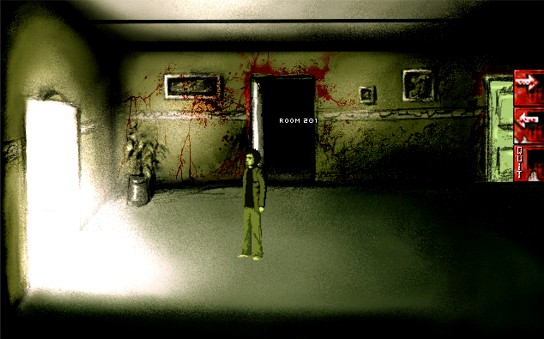
ROOM 201
Talk to Doctor Z and work through all the dialogue with him. Just as Receptionist told you earlier, he’ll want you to go up to the roof. He’ll give you a WALKIE-TALKIE so you can keep in contact with him. Now leave the room.
SECOND FLOOR HALLWAY
Use the lift to go down to Ground Floor Reception Area.
GROUND FLOOR RECEPTION AREA
Look at the leather boot on the floor. The Receptionist must have been here. Walk down to the Dining Room.
DINING ROOM
Enter the Dining Room. Look at leather boot on the floor, then enter the Kitchen.
KITCHEN
Look at the skirt on the cabinet on the back wall. Go through door in the back wall, into the walk-in fridge.
WALK-IN FRIDGE
Look at the net stocking. Enter into the Secret Passage.
SECRET PASSAGE
Look at stocking on the ladder, then climb the ladder up to a Torture Chamber.
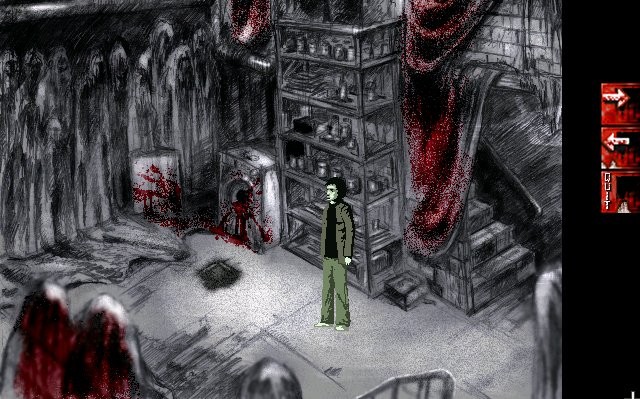
TORTURE CHAMBER
Take the MANNEQUIN ARM from wall on the right. Walk through door on the left, into a secret bedroom.
SECRET BEDROOM
This secret bedroom belongs to Receptionist. Work through all the dialogue with her, but make sure you reject all her advances. You need to remain loyal to your wife, and not mess around with anyone else! When given the choice, choose Leave Her (the Receptionist)! Walk through door in the middle of the back wall, so you’re out in the hallway on the Fourth Floor.
FOURTH FLOOR HALLWAY
You’re standing outside Room 404. This door was previously locked, but now you can enter it freely, since you unlocked it from the inside. Enter Room 404 again.
ROOM 404 SECRET BEDROOM
This was the room that Receptionist was in, except she’s gone now. Climb up the stairs, up to the roof.
ROOF
SAVE YOUR GAME HERE. Look at the strange device on the chimney, then use WALKIE-TALKIE to communicate with Doctor Z. Now use CROWBAR with the strange device. A bolt of lightning knocks you off the roof. You manage to grab onto a window as you are falling… and you witness Doctor Z being murdered by his own creation! Then you lose your grip, and fall to the ground.
GARDEN
Let’s go and find Agnes. Walk right to the Hotel Road.
HOTEL ROAD
Click on The Quiet Haven Hotel to enter.
GROUND FLOOR RECEPTION AREA
Walk down to the Dining Room.
DINING ROOM
Walk up into the kitchen.
KITCHEN
Go through door in the back wall, into the walk-in fridge.
WALK-IN FRIDGE
Enter into the Secret Passage.
SECRET PASSAGE
Climb the ladder up to the Torture Chamber.
TORTURE CHAMBER
Walk through door on the left, into the secret bedroom Room 404.
SECRET BEDROOM ROOM 404
Agnes is still here. Talk to her, and tell her to come with you. Now you should check on Doctor Z. Go through door in the middle of the back wall, so you are out in the hallway.
FOURTH FLOOR HALLWAY
Walk left to other end of the hallway.
Use the lift to go down to the Second Floor.
SECOND FLOOR HALLWAY
SAVE YOUR GAME HERE, then enter Room 201.
ROOM 201
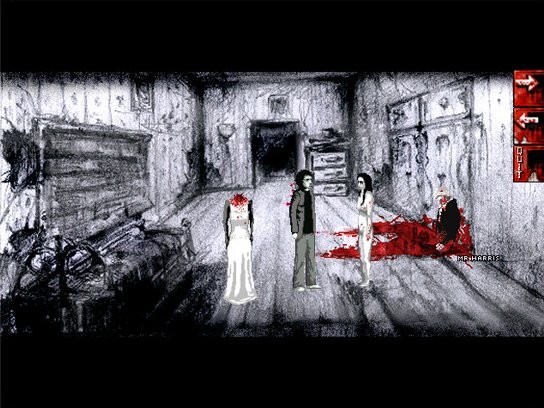
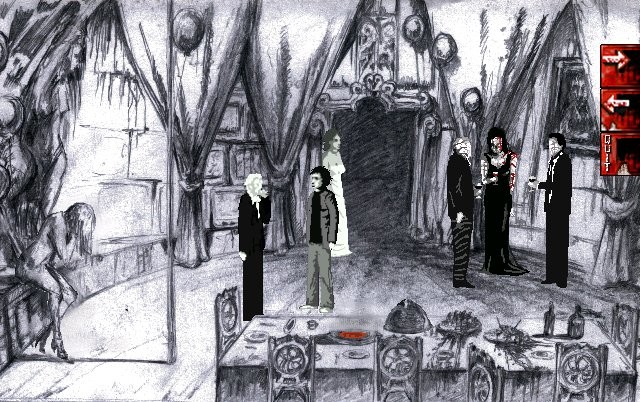
Hmmm, Doctor Z isn’t here. Neither is his creation. So what you saw through the window must have really happened – it wasn’t your imagination. Take the BOOK from on top of the ECG machine. In your Inventory, look at the BOOK to find a PHOTO. In your Inventory, look at the PHOTO – it’s a photo of Hitler. Just what exactly was Doctor Z playing at? Walk left a few steps, and look at the mannequin torso in middle of the floor to see that it’s missing a few limbs. Attach your MANNEQUIN HEAD to the mannequin torso. Add MANNEQUIN ARM to the mannequin torso. Add the other MANNEQUIN ARM to the mannequin torso. Add MANNEQUIN LEG to the mannequin torso. Add the other MANNEQUIN LEG to the mannequin torso. Now move the right arm of the mannequin, so it’s raised, just like in the photo of Hitler. Walk right a few steps, and flip the lever next to the door. If you’ve done everything correctly, and door will open, revealing a secret entrance. Go through this secret entrance, into a Nazi room.
NAZI ROOM
SAVE YOUR GAME HERE. Look around the room. Take CHAINSAW from the altar underneath the swastika. Take SHOTGUN SHELLS from table on the left. Look at the mutilated Doctor Z on the left. Now let’s leave this sickening room.
ROOM 201
Leave the room and return to the hallway.
SECOND FLOOR HALLWAY
Use the lift to go up to the Fourth Floor.
FOURTH FLOOR HALLWAY
Look at Room 403 door – it’s locked, but the key is in the other side of the lock. Push MENU through gap at bottom of the door, then use ROOM KEY 101 in lock of the door to push the door key out. Now pull out MENU from gap at bottom of the door, and you gain ROOM KEY 403. Use ROOM KEY 403 in lock of the door to unlock it, then enter the room.
ROOM 403
The last version of Sophie is here. Just like the others, you have to kill this one as well. Try and talk to Grown Up Sophie, but she won’t talk to you. The dolls glued to the wall plead with you to kill her. Do as they ask, and use CHAINSAW on Grown Up Sophie to hack her to pieces. Sickened by what you’ve become, you flee from the room.
FOURTH FLOOR HALLWAY
Use the lift to go down to the Ground Floor.
GROUND FLOOR RECEPTION AREA
Walk down to the Dining Room.
DINING ROOM
Walk through upper left doorway, to the staircase.
STAIRCASE
SAVE YOUR GAME HERE. Climb the stairs, and go through door on the right, into the Twilight Lounge.
TWILIGHT LOUNGE
The Axeman is here, and he’s out to get you. As soon as you get the chance, use your RELOADED SHOTGUN on the Axeman to shoot him dead. Now walk right to the Lounge.
LOUNGE
The mirror has a lot of cracks now, and the cracks form the outline of a man. Use BOX OF SHELLS with the SHOTGUN to get RELOADED SHOTGUN (you have to use box of shells on the shotgun, not shotgun with the box of shells, because that won’t work. SAVE YOUR GAME HERE, then enter through the mirror.
THROUGH THE MIRROR
You find yourself in another strange room. Sophie is here – prepare for a final showdown with her. You have to kill her once and for all! She morphs into a scary monster with a baby on her back. To kill her, use RELOADED SHOTGUN to shoot the baby mutant on her back. You need to shoot the baby mutant 4 times, reloading your SHOTGUN each time. After you’ve killed Sophie, you’ll automatically leave this mirror-room.
LOUNGE
Oh no! Ivy is here… but she’s dead! There’s only one way to bring her back to life – use Doctor Z’s equipment on the Second Floor. Pick up Ivy, then walk left to the Twilight Lounge.
TWILIGHT LOUNGE
Walk left to the Staircase.
STAIRCASE
Go through door on the left, to the First Floor Hallway.
FIRST FLOOR HALLWAY
Enter the lift.
Hmmm, there’s only 2 choices in the lift. Okay, go up to the Fifth Floor.
FIFTH FLOOR HALLWAY
After a long cut scene, you end up in Room 201 – Doctor Z‘s room.
ROOM 201
Place Ivy down in the electric chair. Use Control Panel on the left to activate the chair. Watch another cut scene. After the cut scene, you’ll be playing as Billy Hookway.
~~~~~~~~~~~~~~~~~~~~~~~~~~~~~~~~~~~~~~~~~~~~~~~~~~~~
PLAYING AS BILLY HOOKWAY
~~~~~~~~~~~~~~~~~~~~~~~~~~~~~~~~~~~~~~~~~~~~~~~~~~~~
STAIRCASE
You are Police Detective Billy Hookway, and you’re tracking a psychotic killer named Joe Davis! You’re in a staircase outside Joe‘s flat. Work through all the dialogue. When conversation is over, talk to the police officer next to the door, and tell him to break it down. SAVE YOUR GAME HERE, then enter Joe’s flat.
JOE’S FLAT
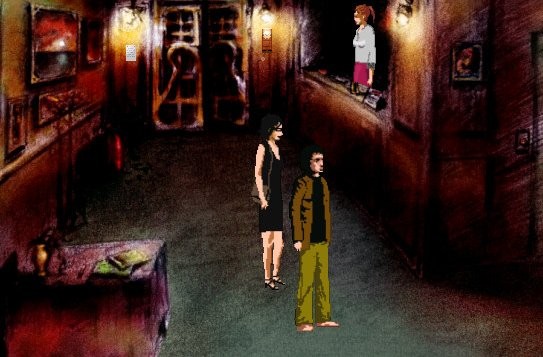
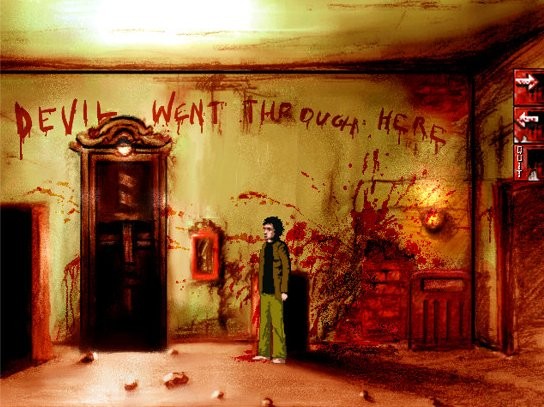
Now you need to find 3 pieces of evidence to prove that Joe is a killer. Pick up PHONE by the door, and listen to the message. Talk to Darren Black about the message. Look at the back wall, where the wallpaper is torn. Use your UV LIGHT on the back wall to reveal a freaky ‘poem’. Talk to Darren Black about the poem. Walk left a few steps, and pull curtain down from the back wall. Look at writing on the wall, and look at the black cat that’s pinned to the wall. Look at the broken TV set. Pick up AXE on the floor next to the TV set. Talk to Darren Black about the cat. Okay, you have your 3 pieces of evidence now. Use AXE with the floorboards to break through to the Basement.
BASEMENT
SAVE YOUR GAME HERE. Walk left, and read the note on the floor. This explains about Joe’s wife leaving him. Walk left into the next room.
ROOM 201
You find yourself back in Room 201 – Dr Z’s room. But this time, you’re seeing things from Billy’s prospective. You try to convince Joe what’s real and what isn’t, but you’re not getting through to him. Finally, it’s crunch-time. How will Joe end things?
~~~~~~~~~~~~~~~~~~~~~~~~~~~~~~~~~~~~~~~~~~~~~~~~~~~~
PLAYING AS JOE
~~~~~~~~~~~~~~~~~~~~~~~~~~~~~~~~~~~~~~~~~~~~~~~~~~~~
ROOM 201
Okay, it’s up to you, Joe. What will you do? Will you:
– Kill yourself, and end your torment?
– Kill Police Detective Billy Hookway?
– Surrender?
Whatever you decide, things won’t end pretty!
Now sit back, and watch the emotional ending.
Credit
This Walkthrough was written by Freaky Hobbit.


A qualified success; the positive aspects still outnumber the negative, but the weaknesses noticeably hinder the experience.
A promising first effort from a small developer, Downfall sometimes leans towards style over substance, but it can be a creepy way to spend a few hours, as long as you aren’t squeamish.
Top Adventure Games
More